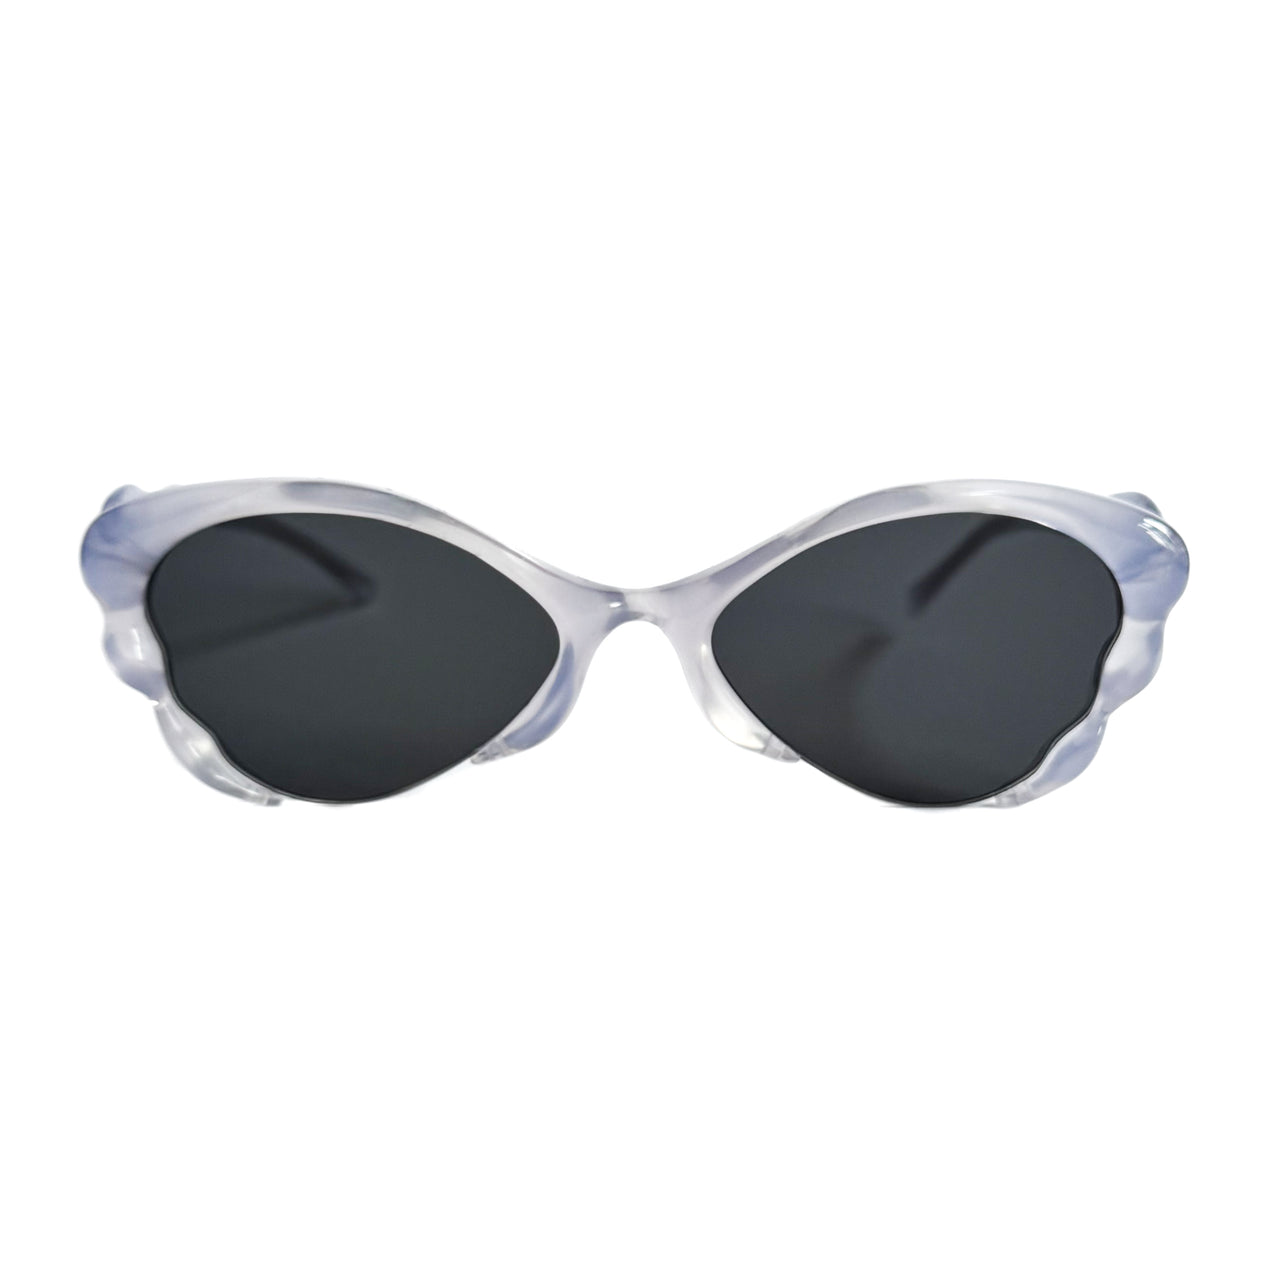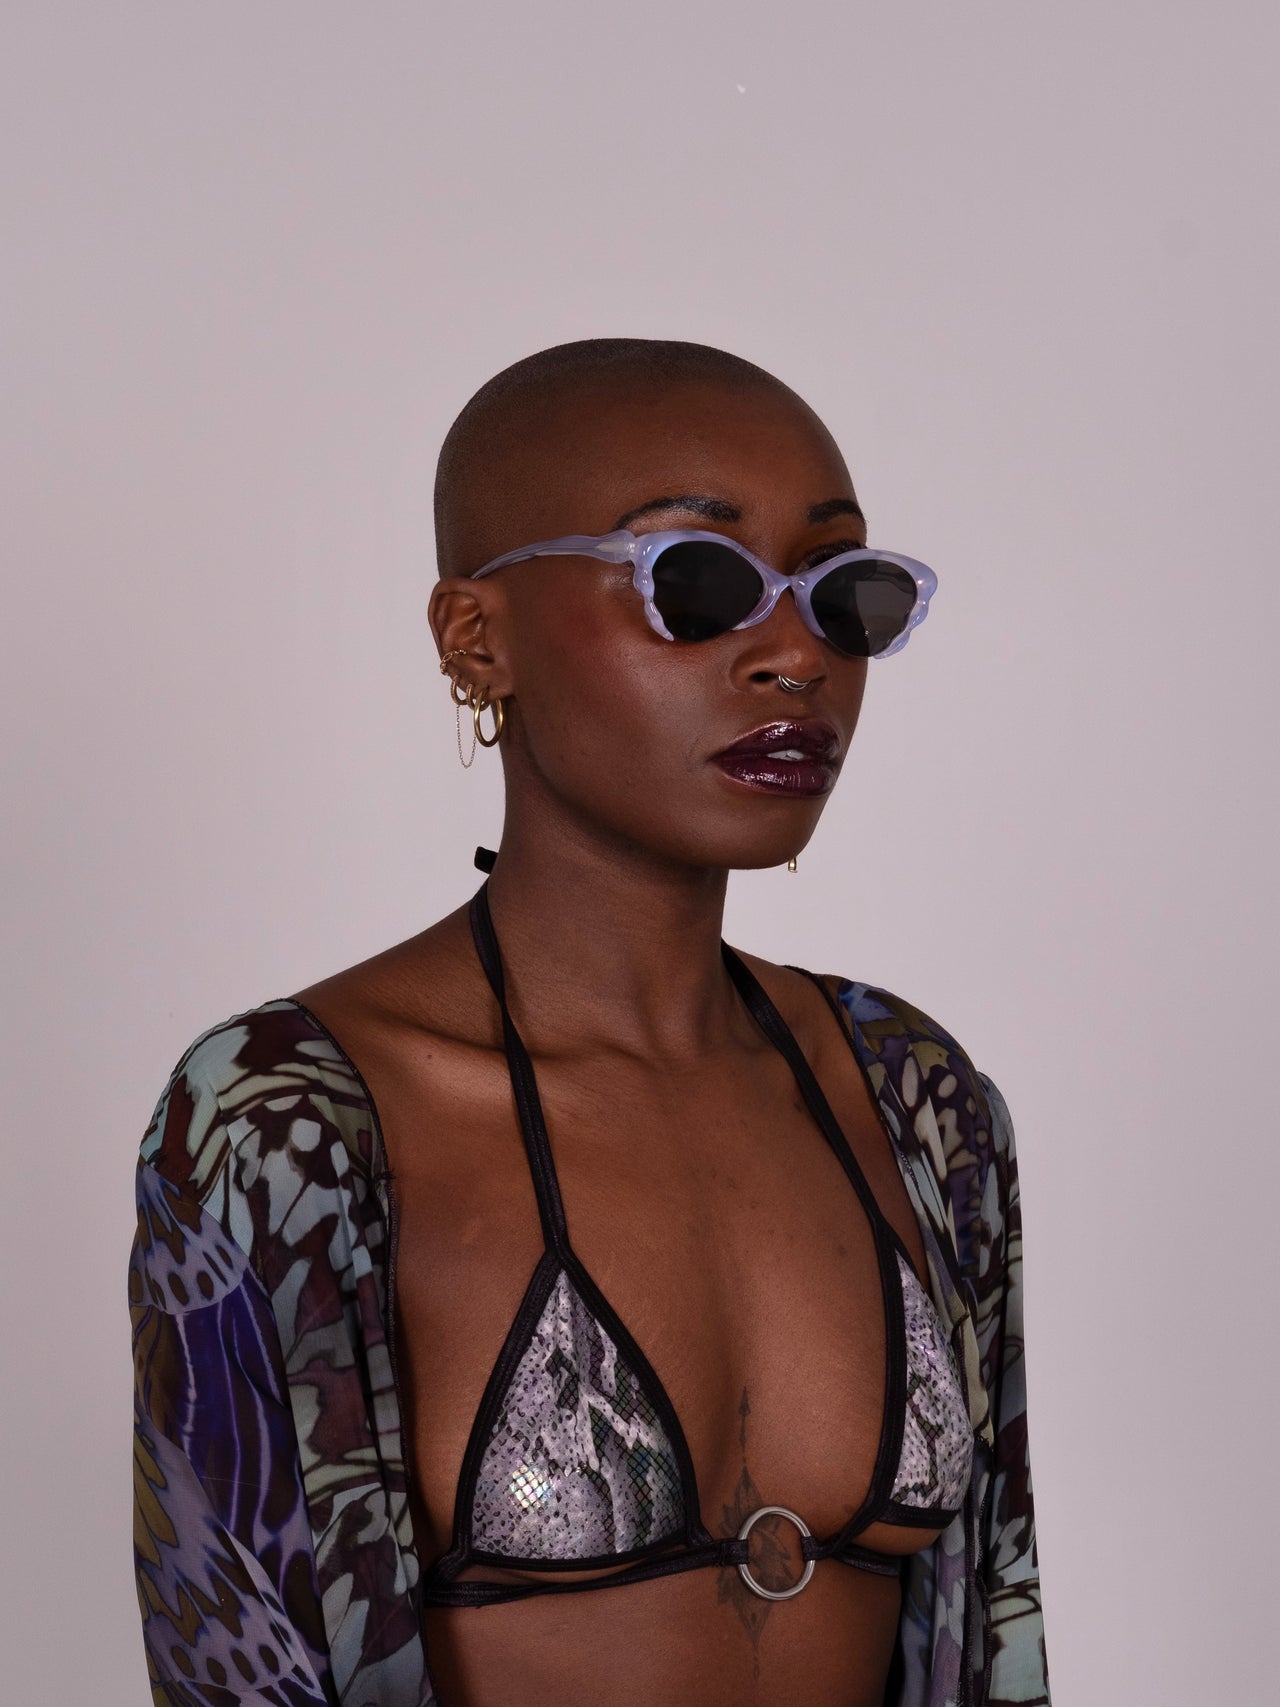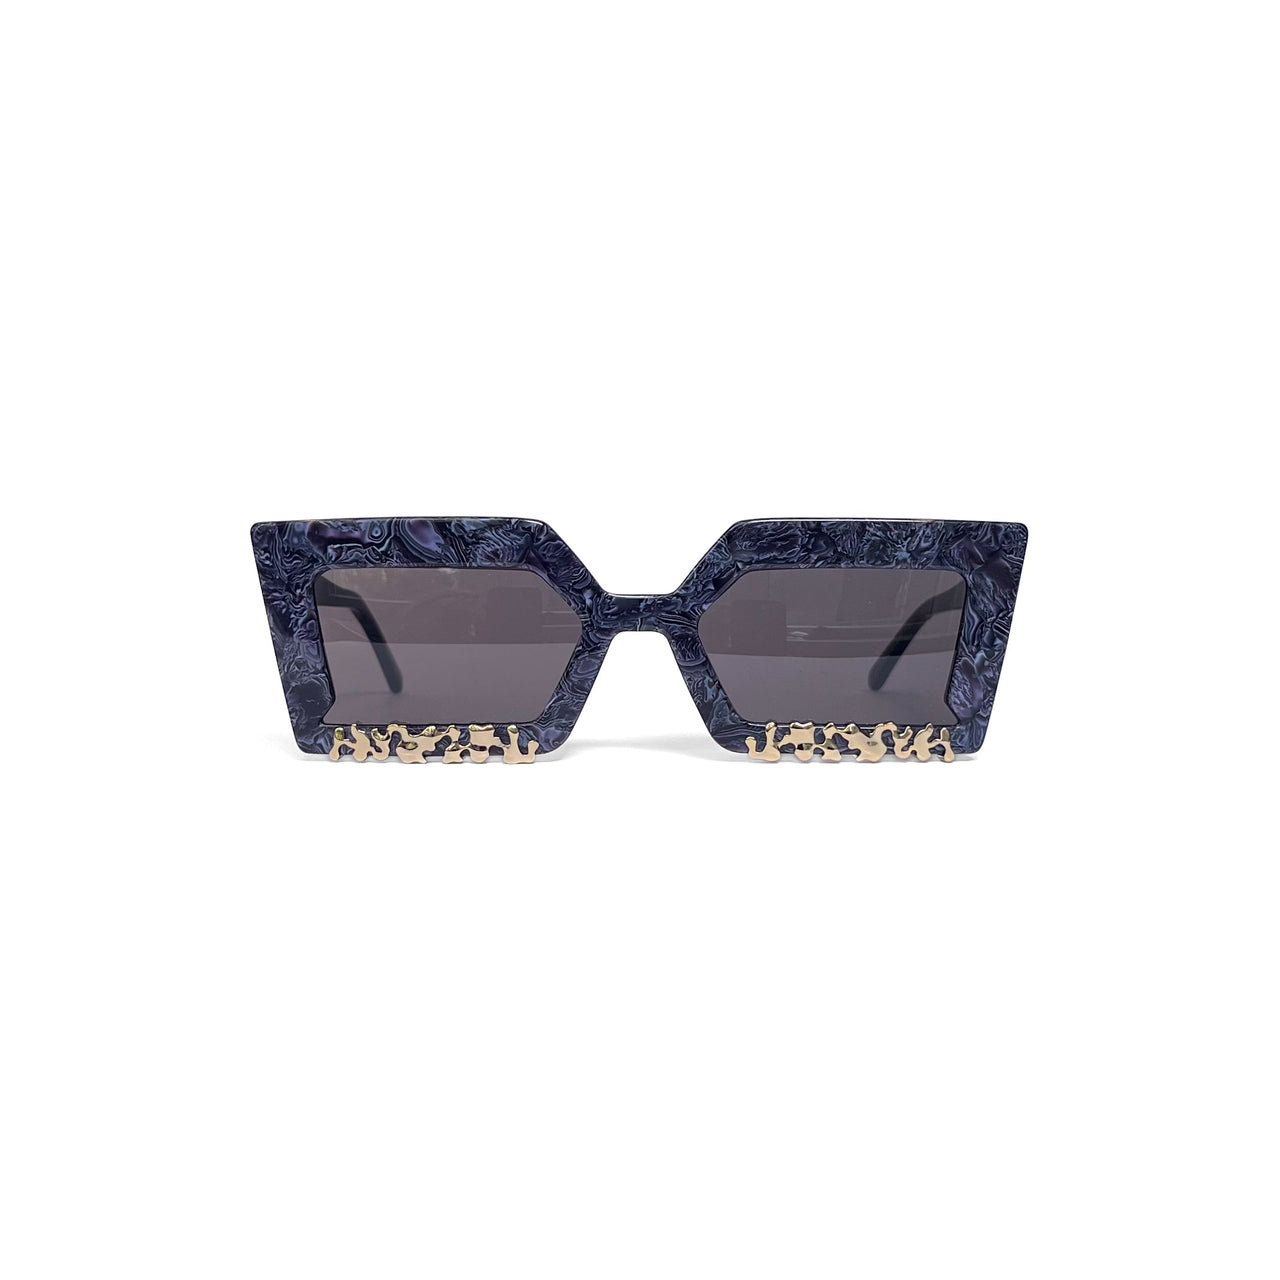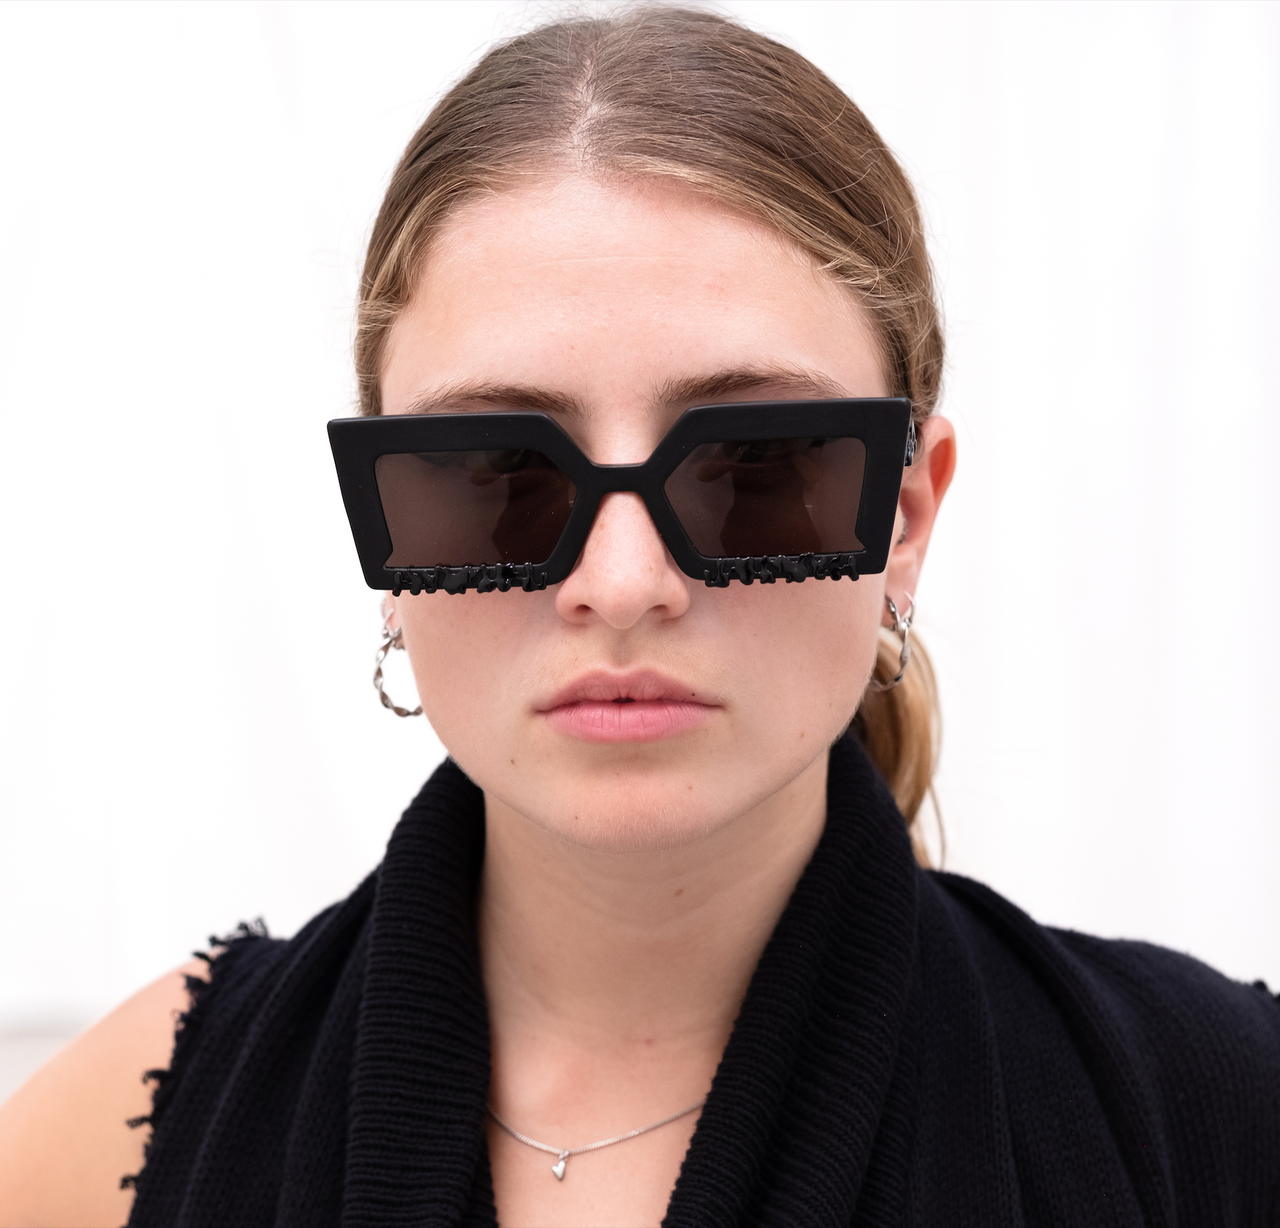
phase armour
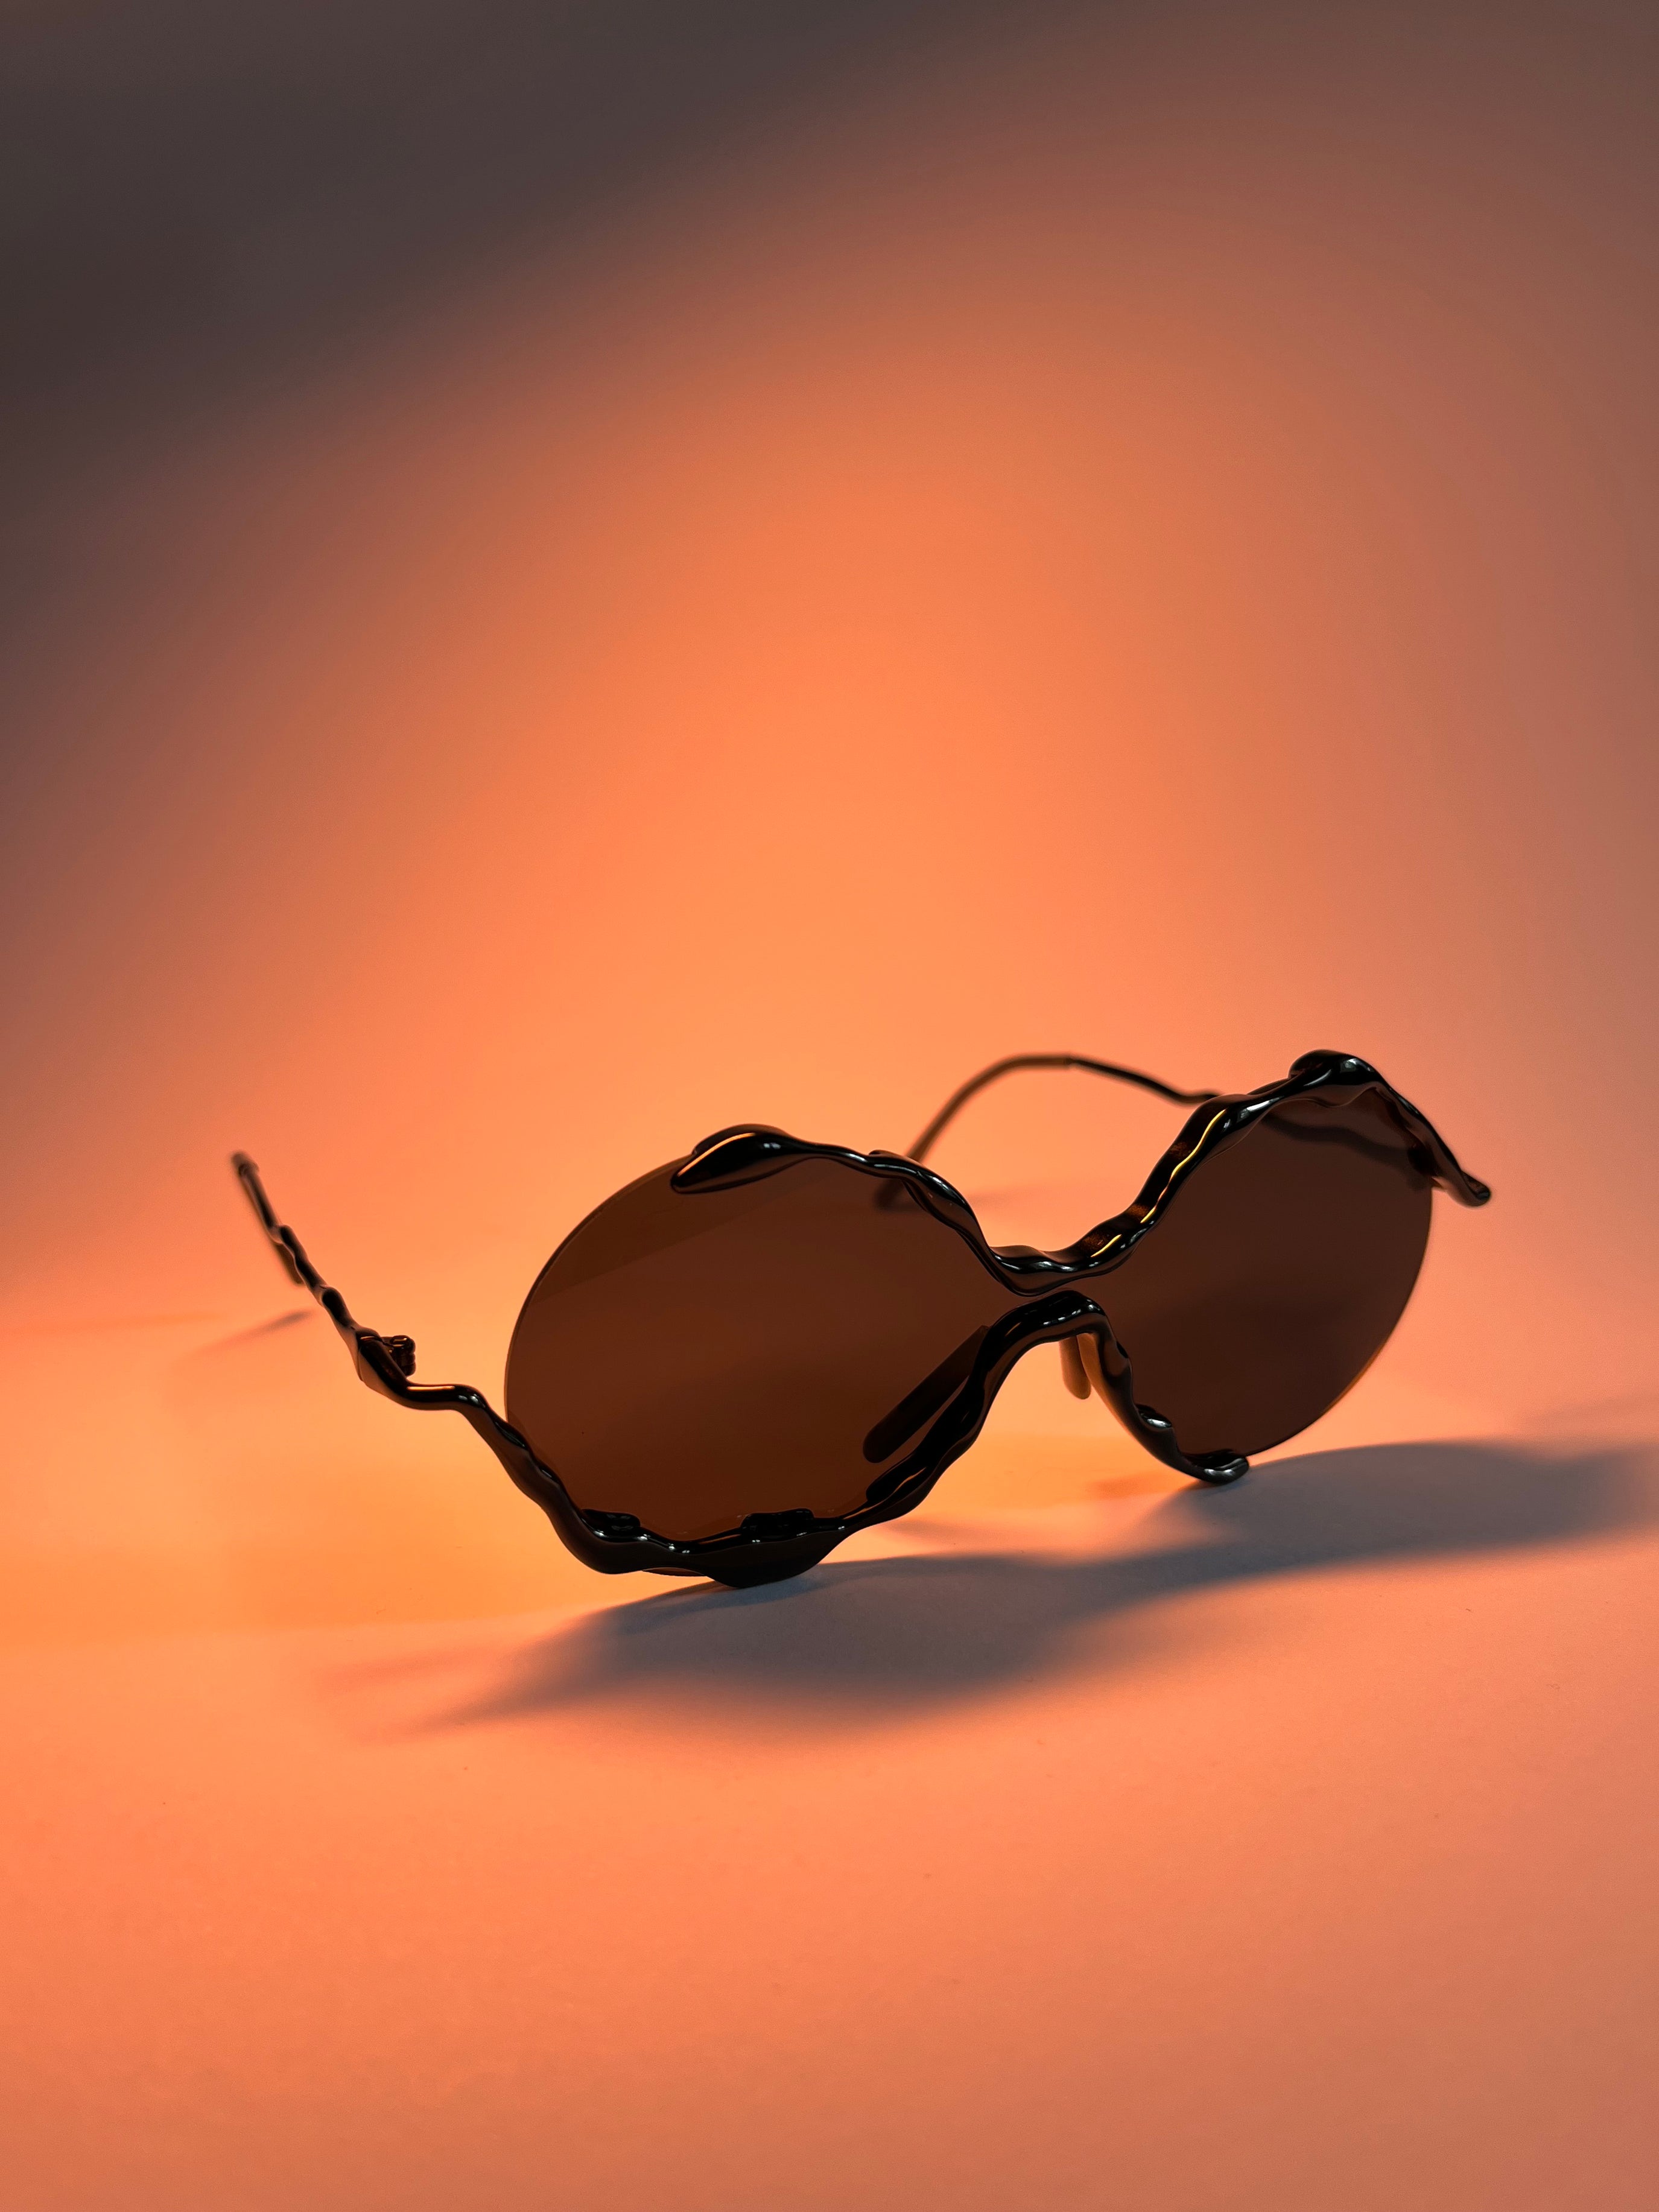
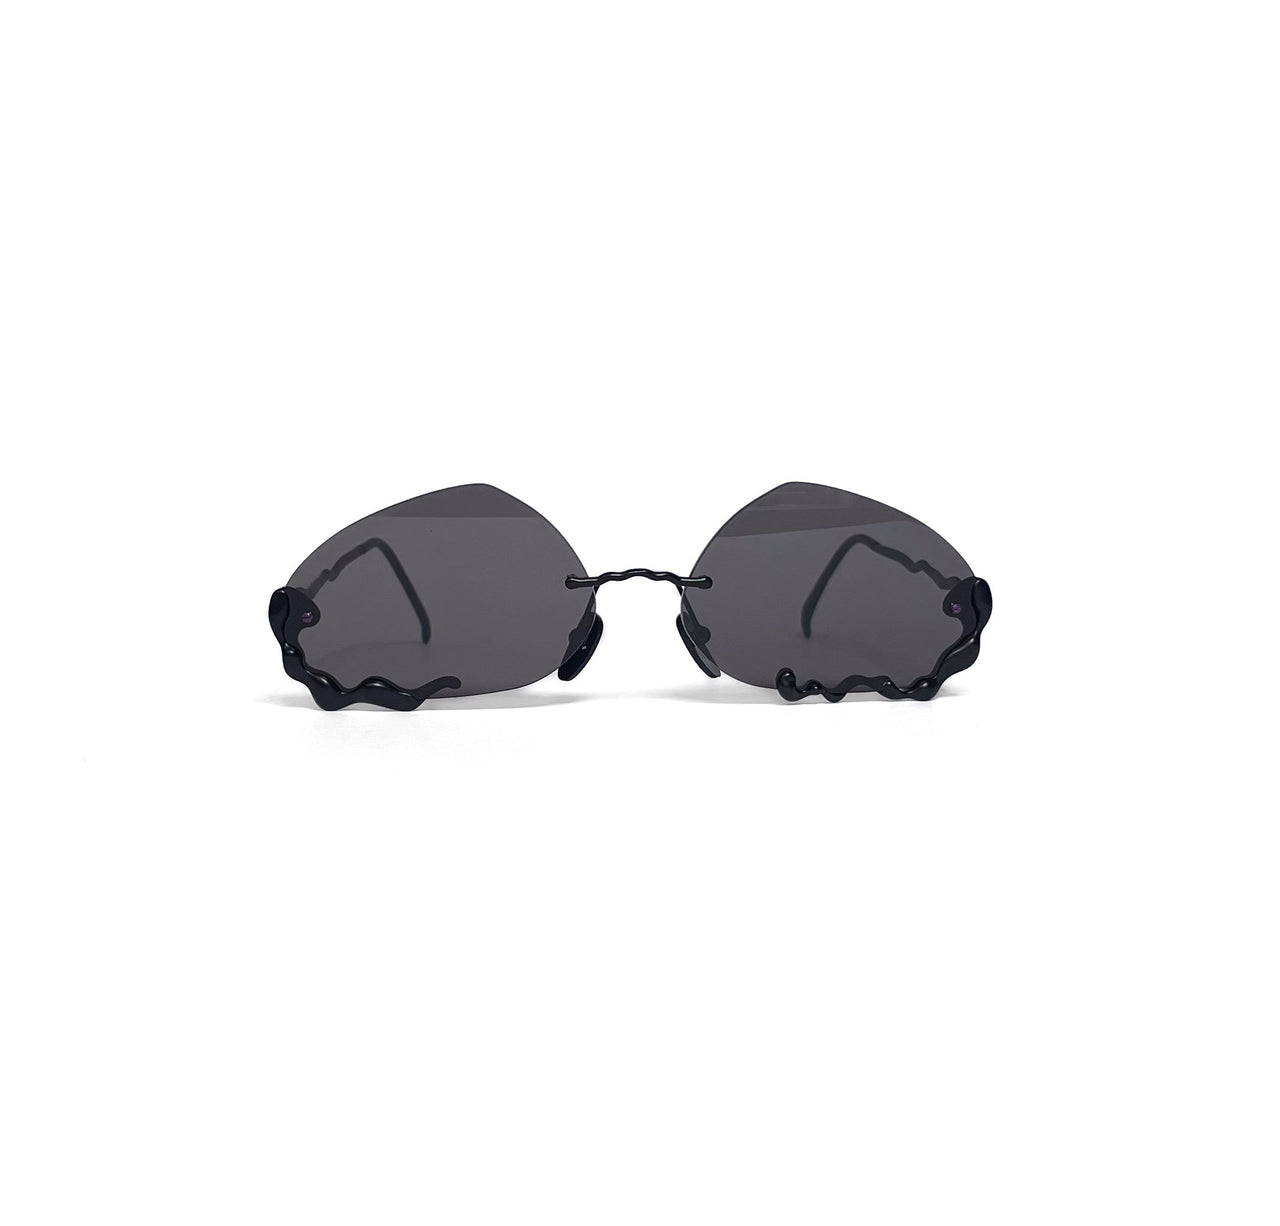
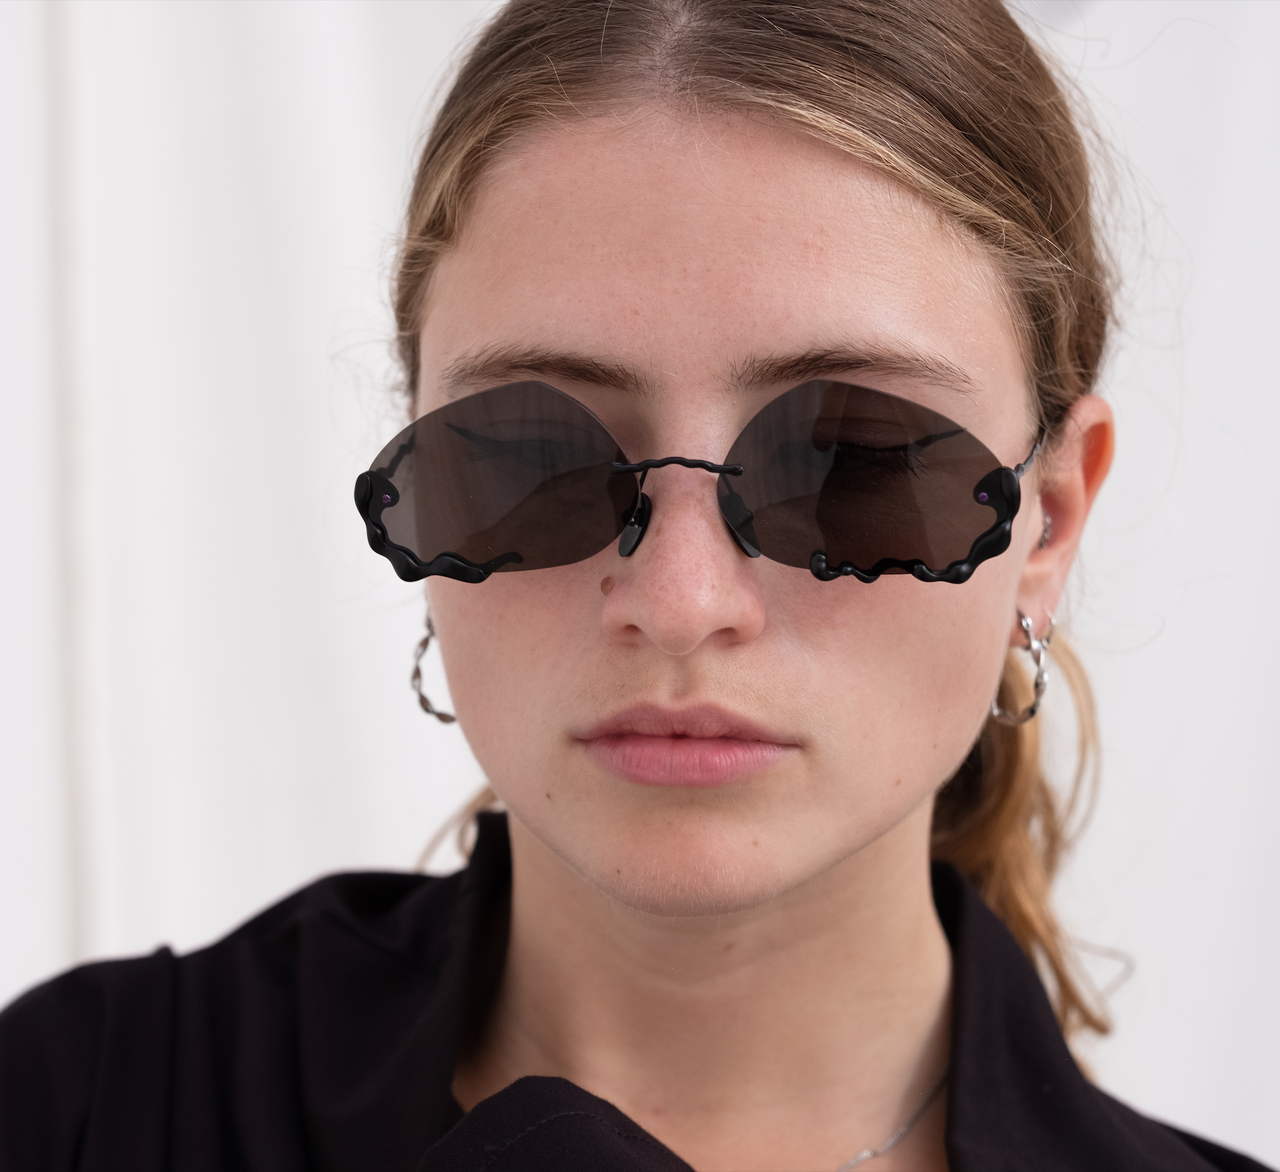
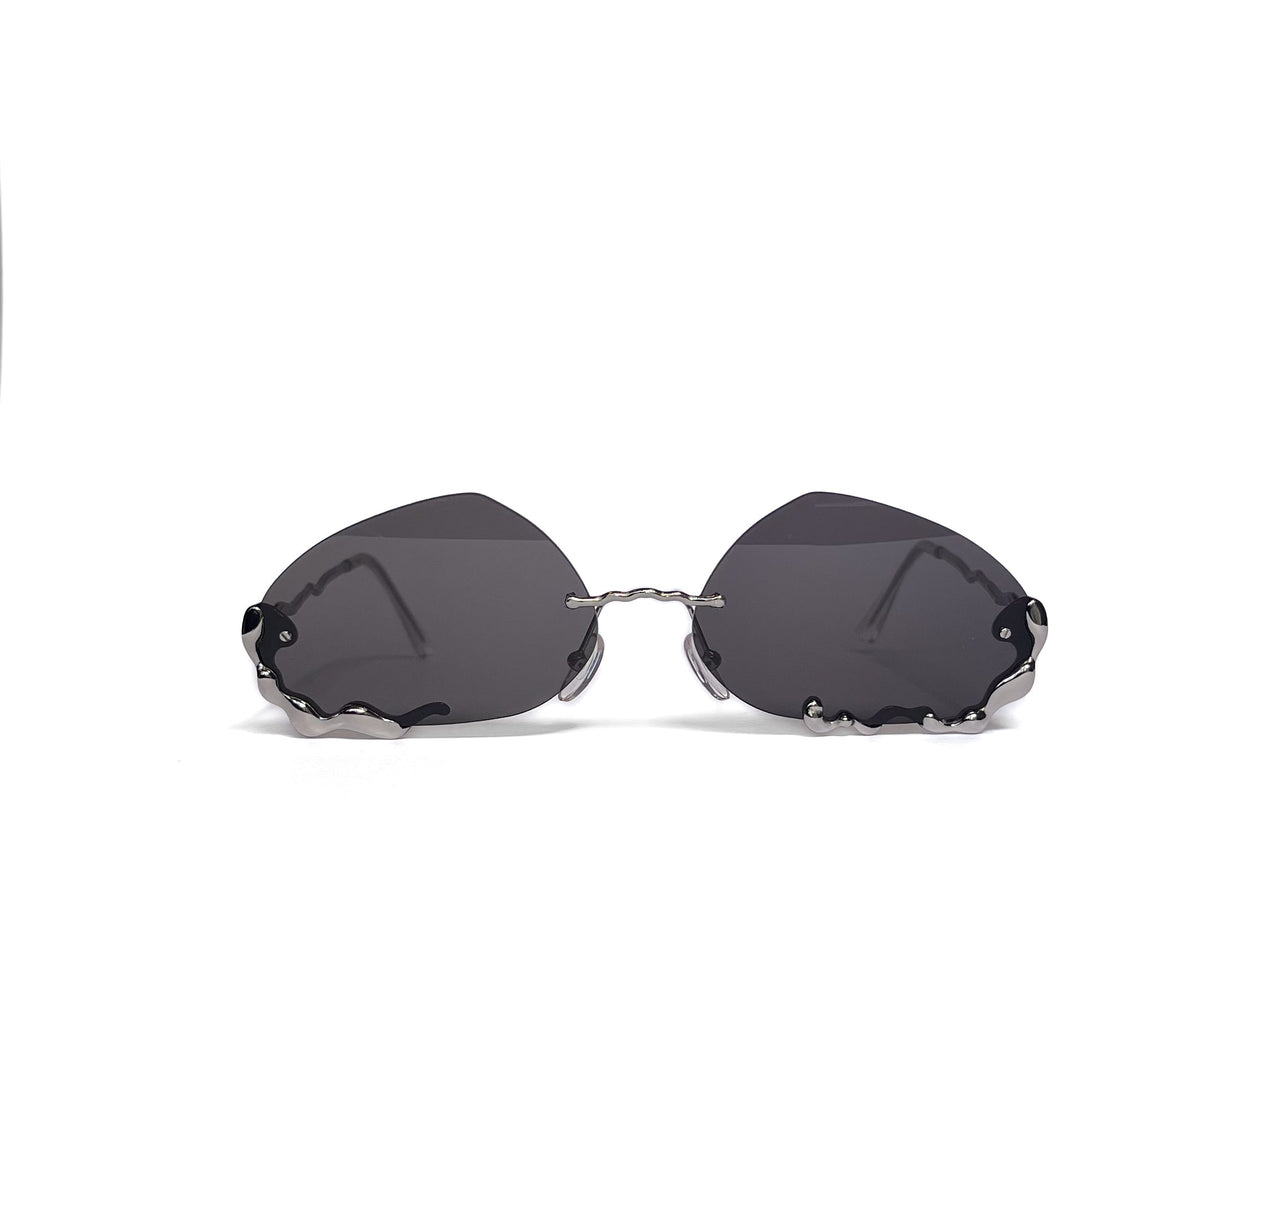
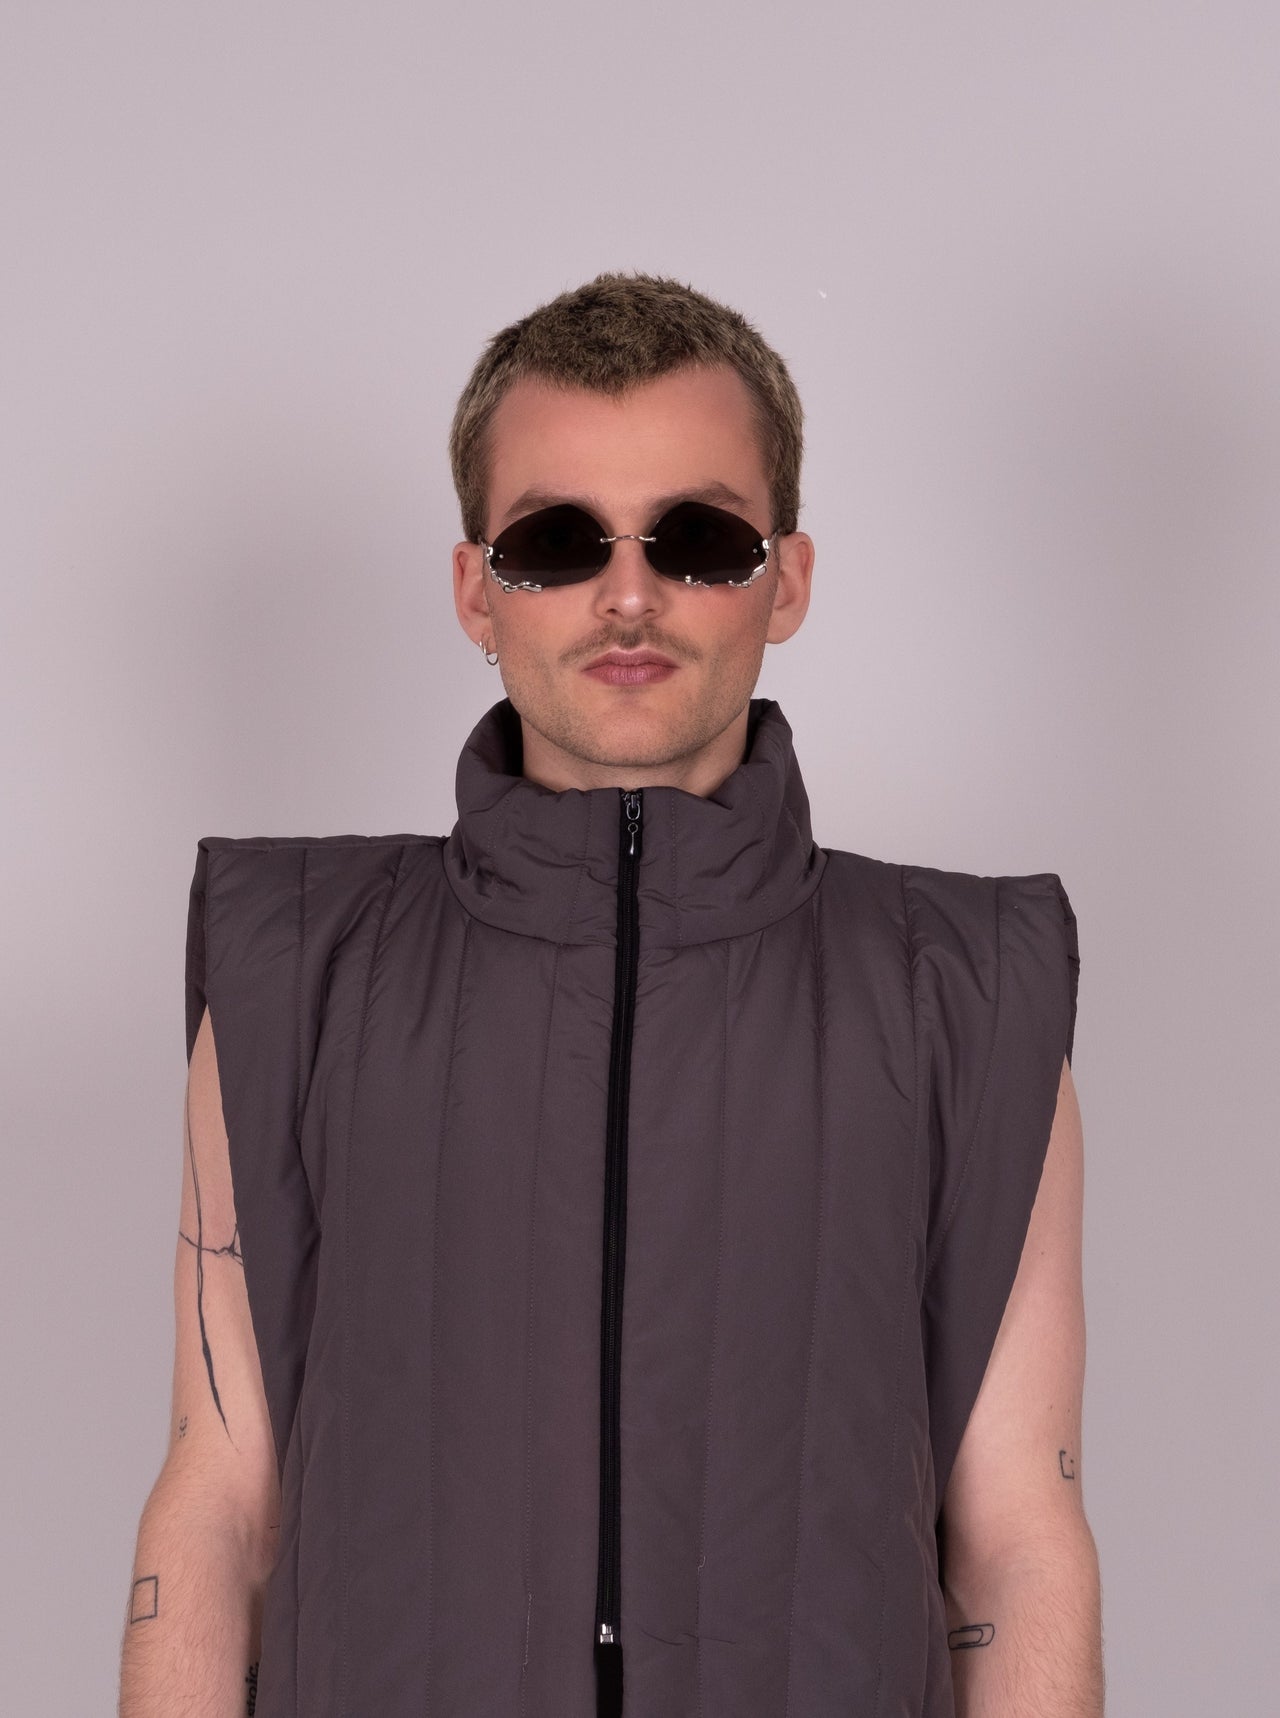
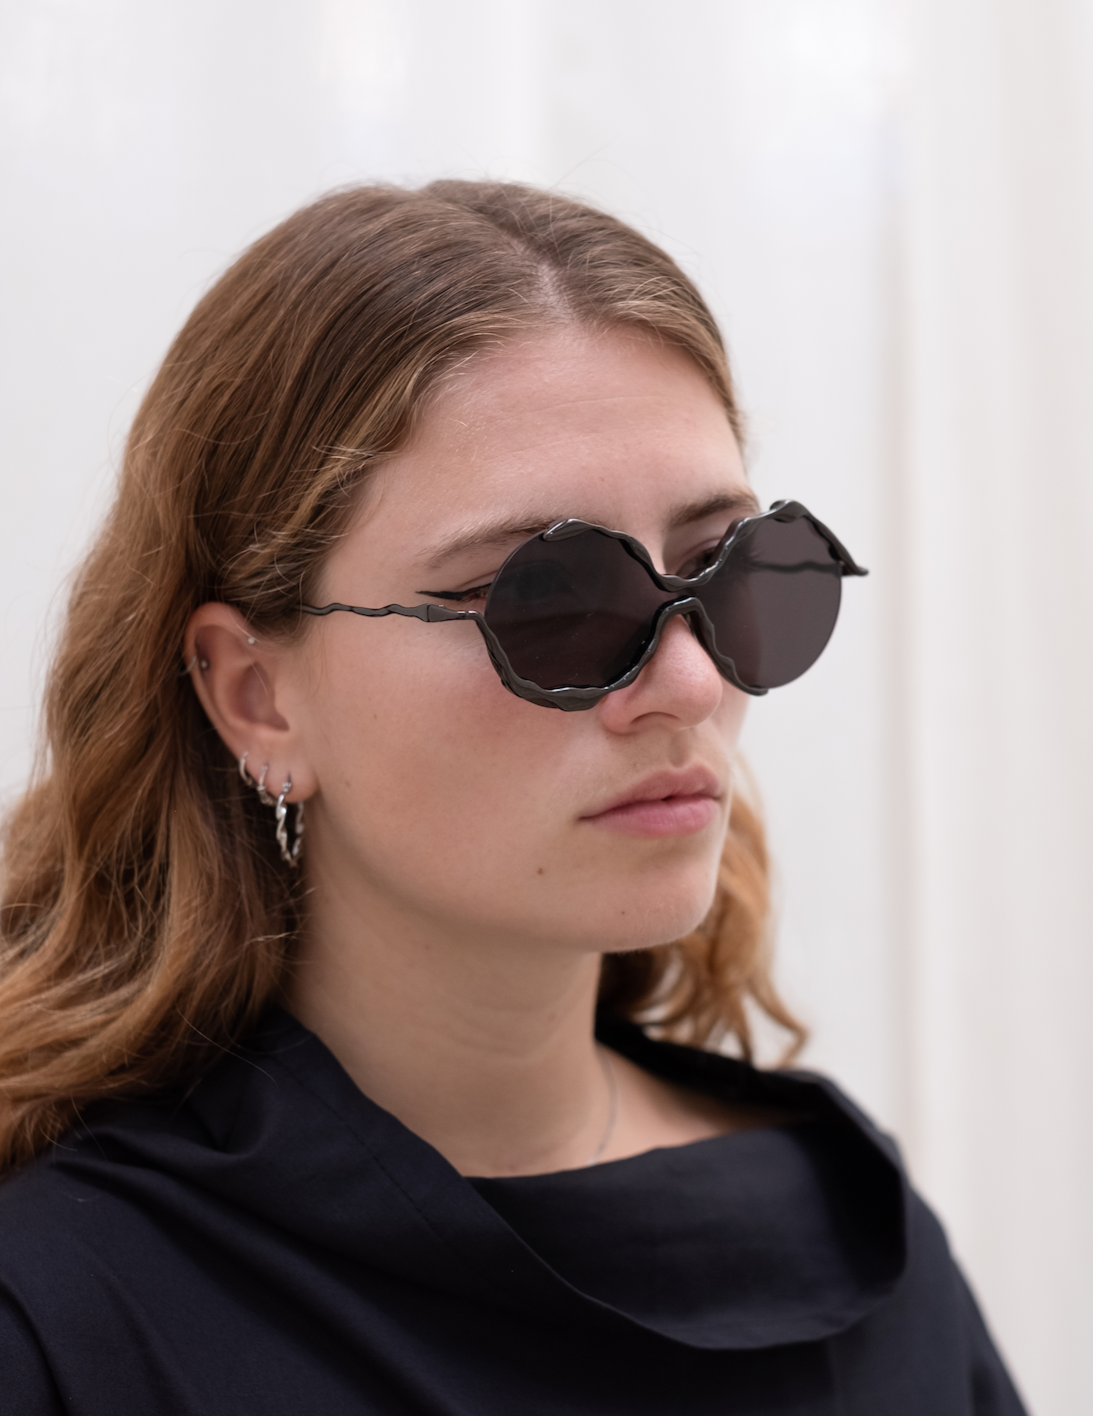
Phase Armour is a phase of reconstruction.
A transition between the malleability of the inside and the harshness of the outside. A protective layer that hides what needs to be hidden, but always let love pass through.
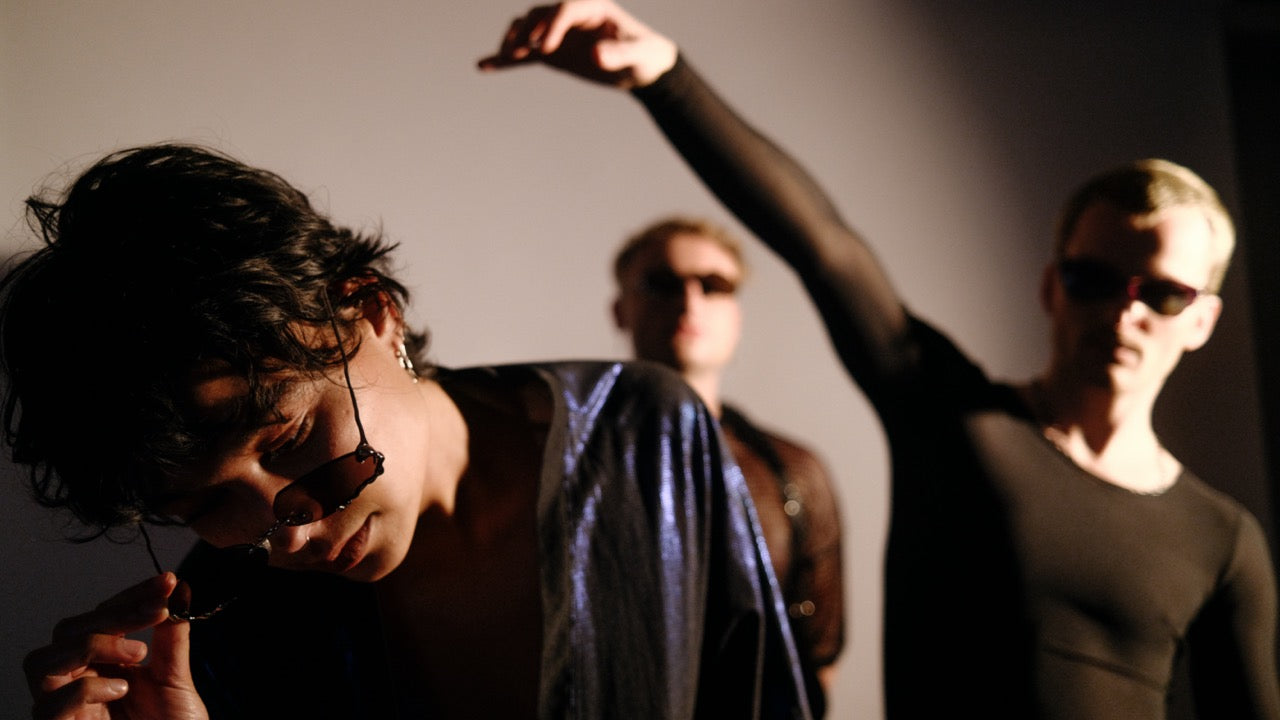
An armour to remind us that we are enough in our fluidity, to remind us to be compassionate.
An invitation to expose ourselves and our softness, too often judged by others. An invitation to let ourselves be seen and shine.
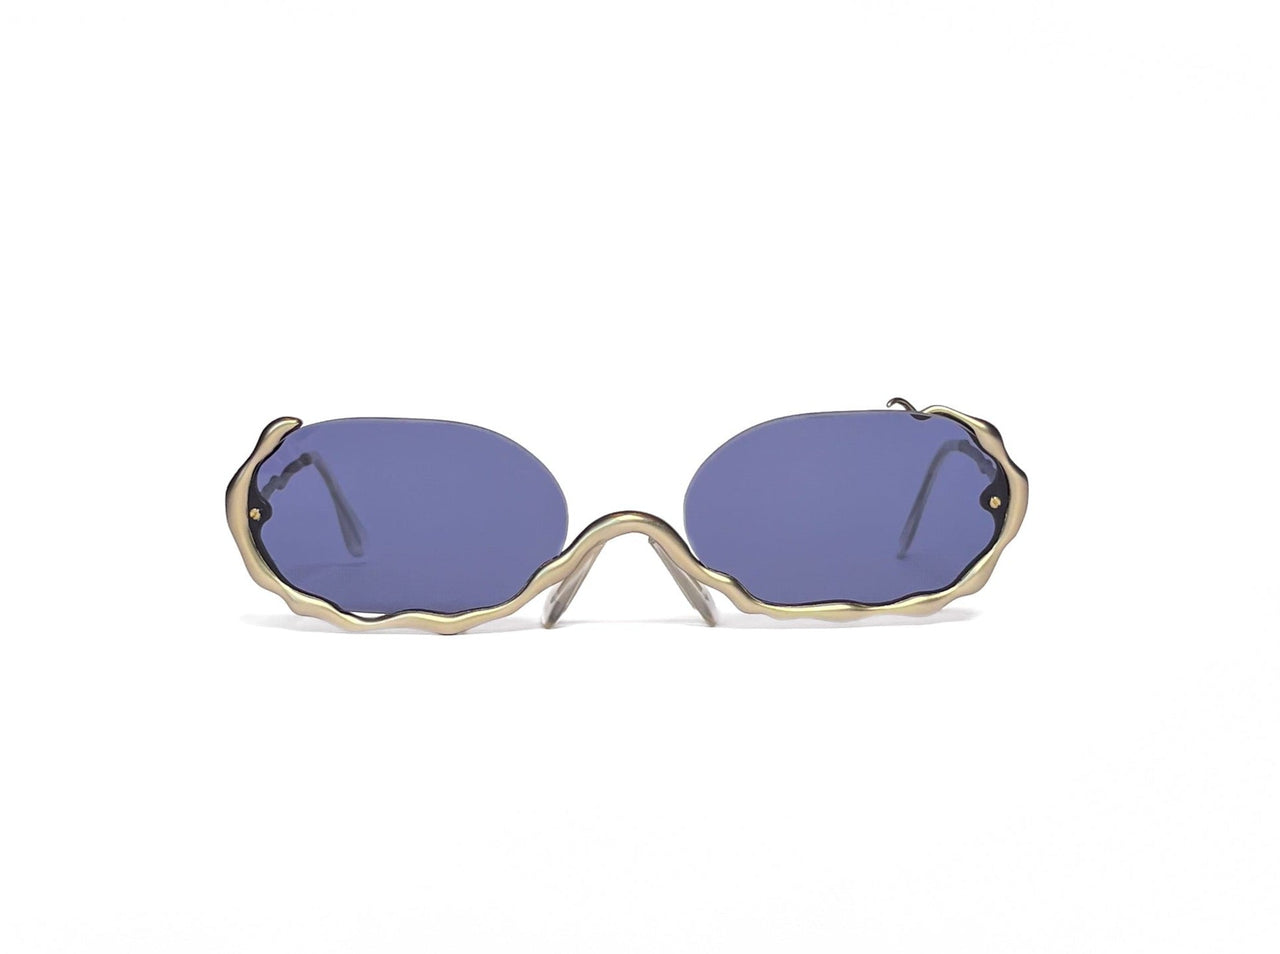
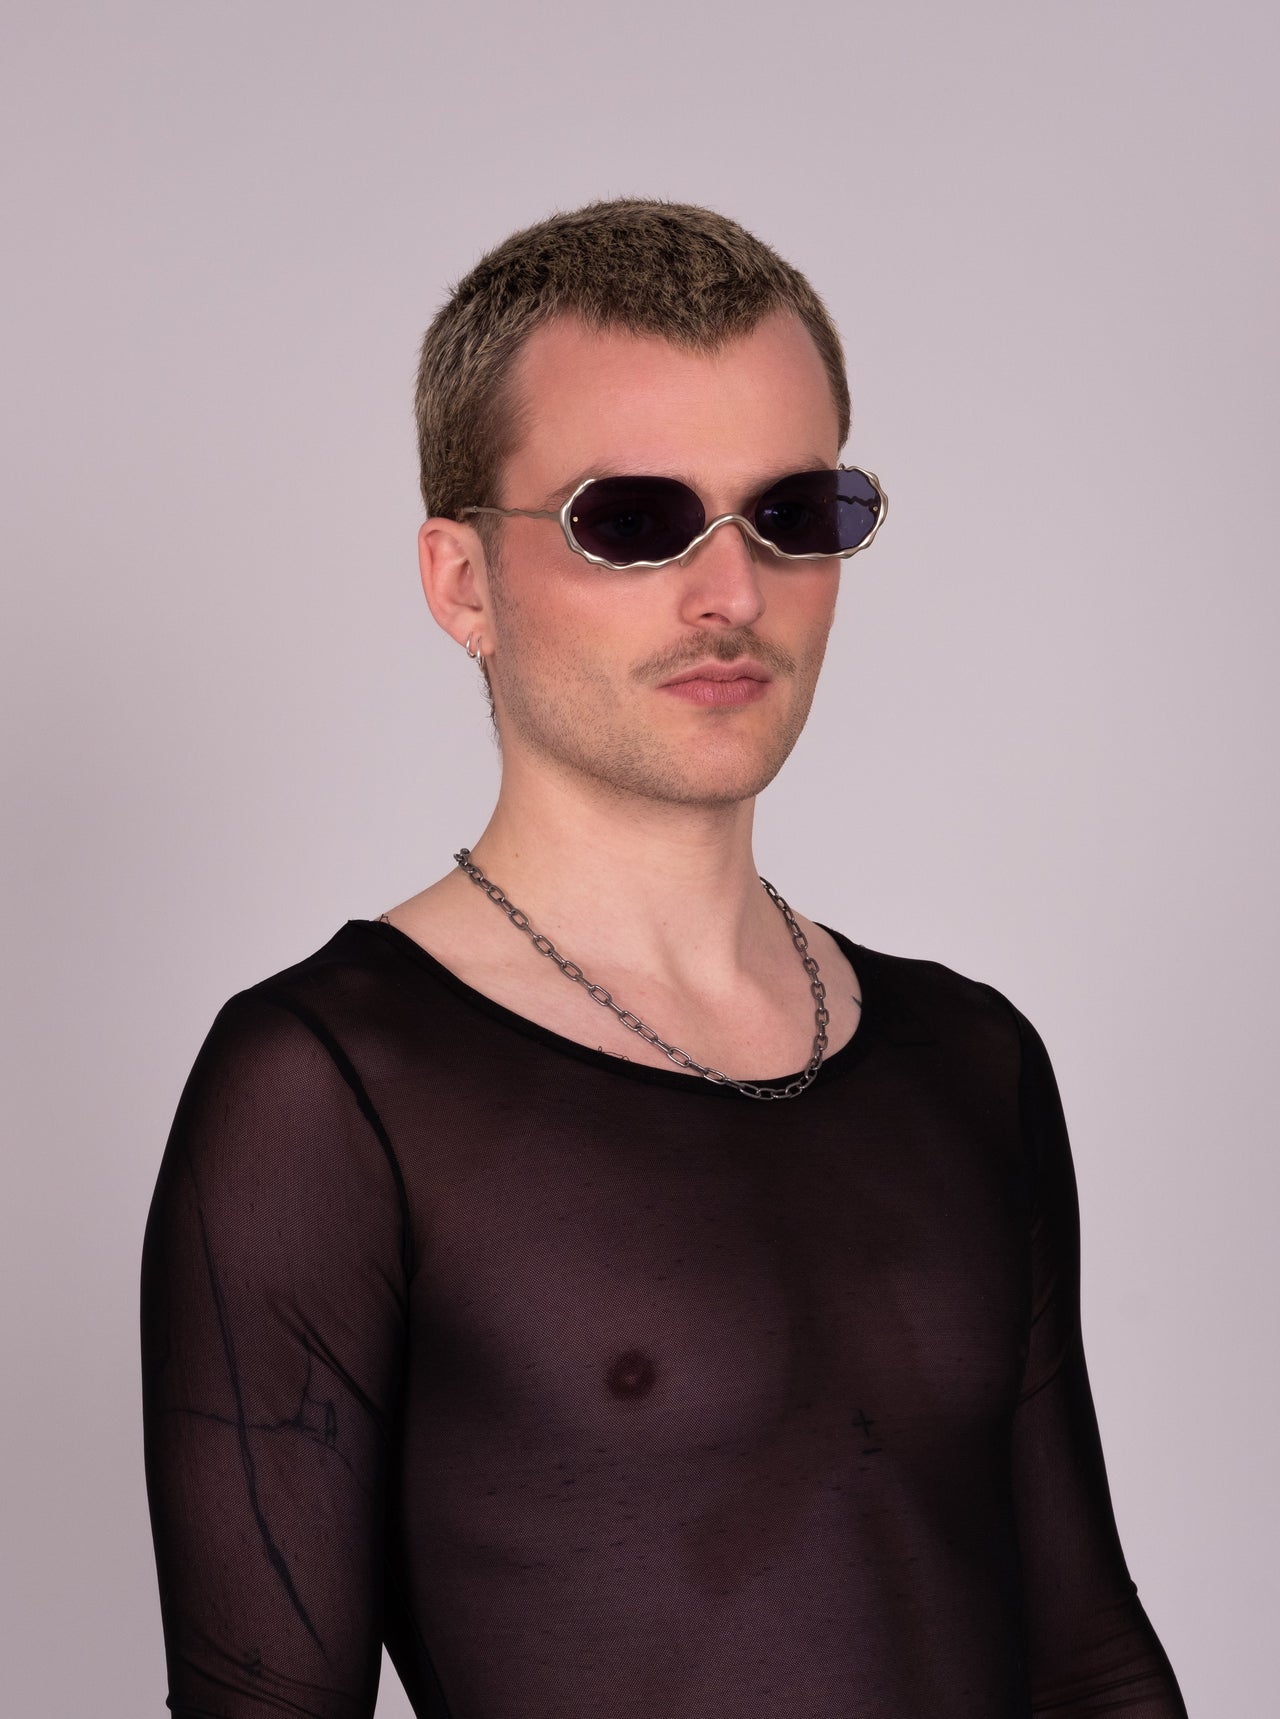
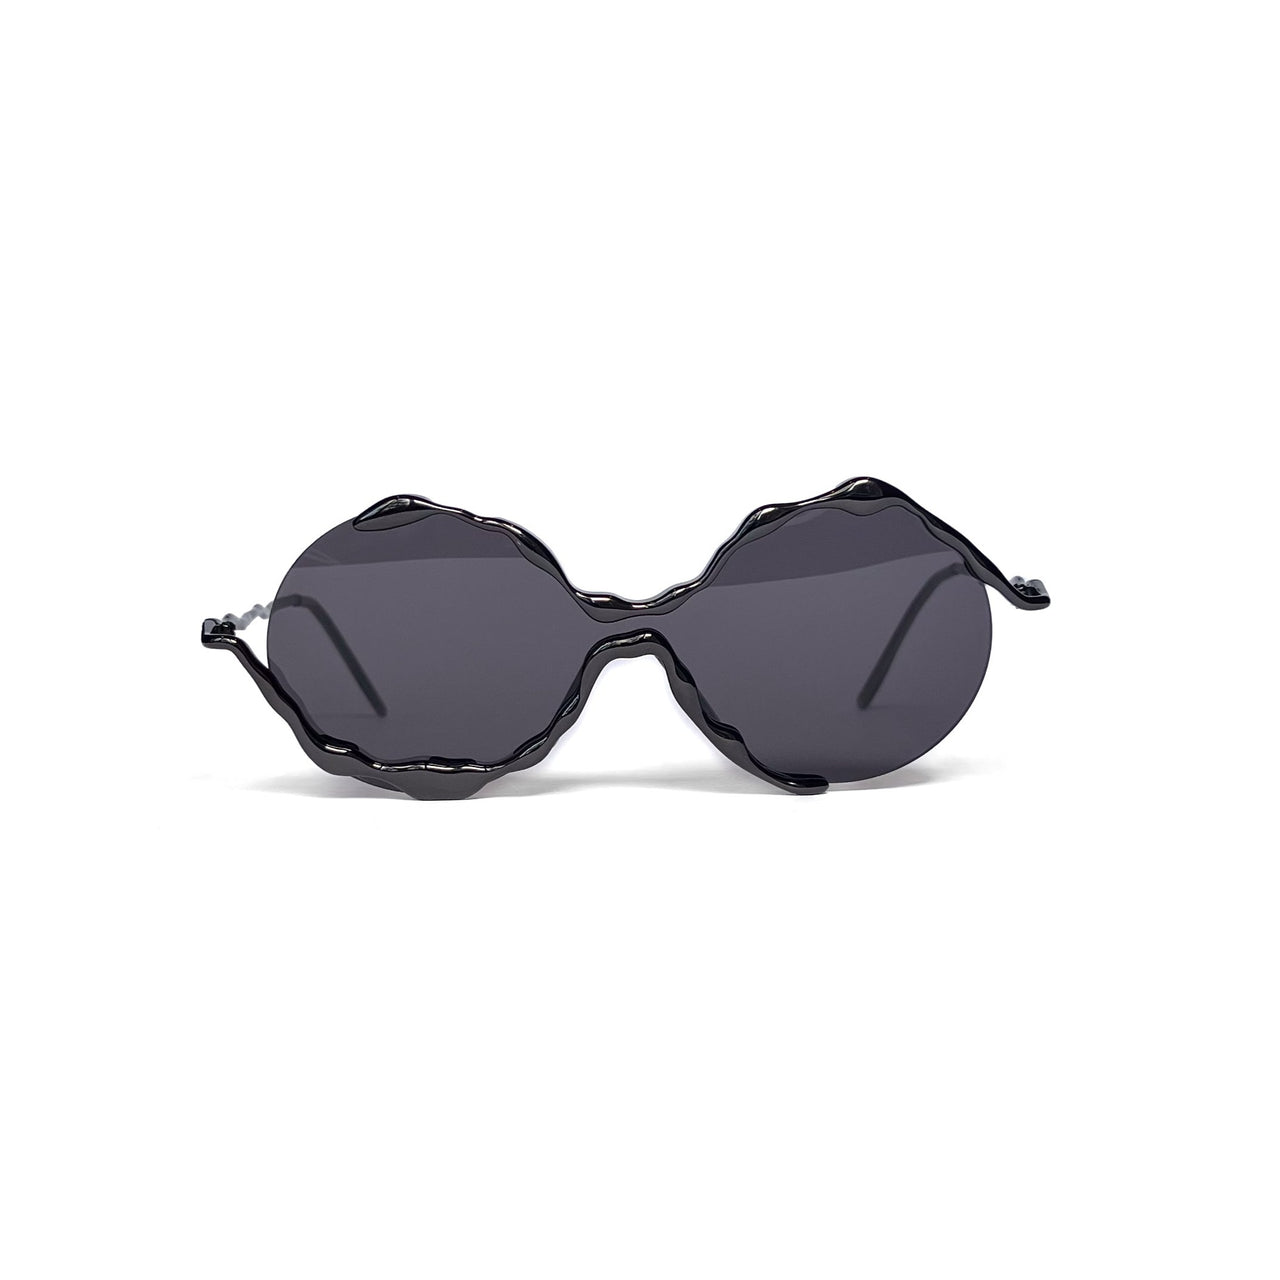
Historically, an “eye piece” in the context of armor refers to the part of a helmet or headpiece that covers or surrounds the eyes.
It’s designed to protect the eyes while still allowing the wearer to see.
Phase Armour
Discover the production process, narrated by the designer.
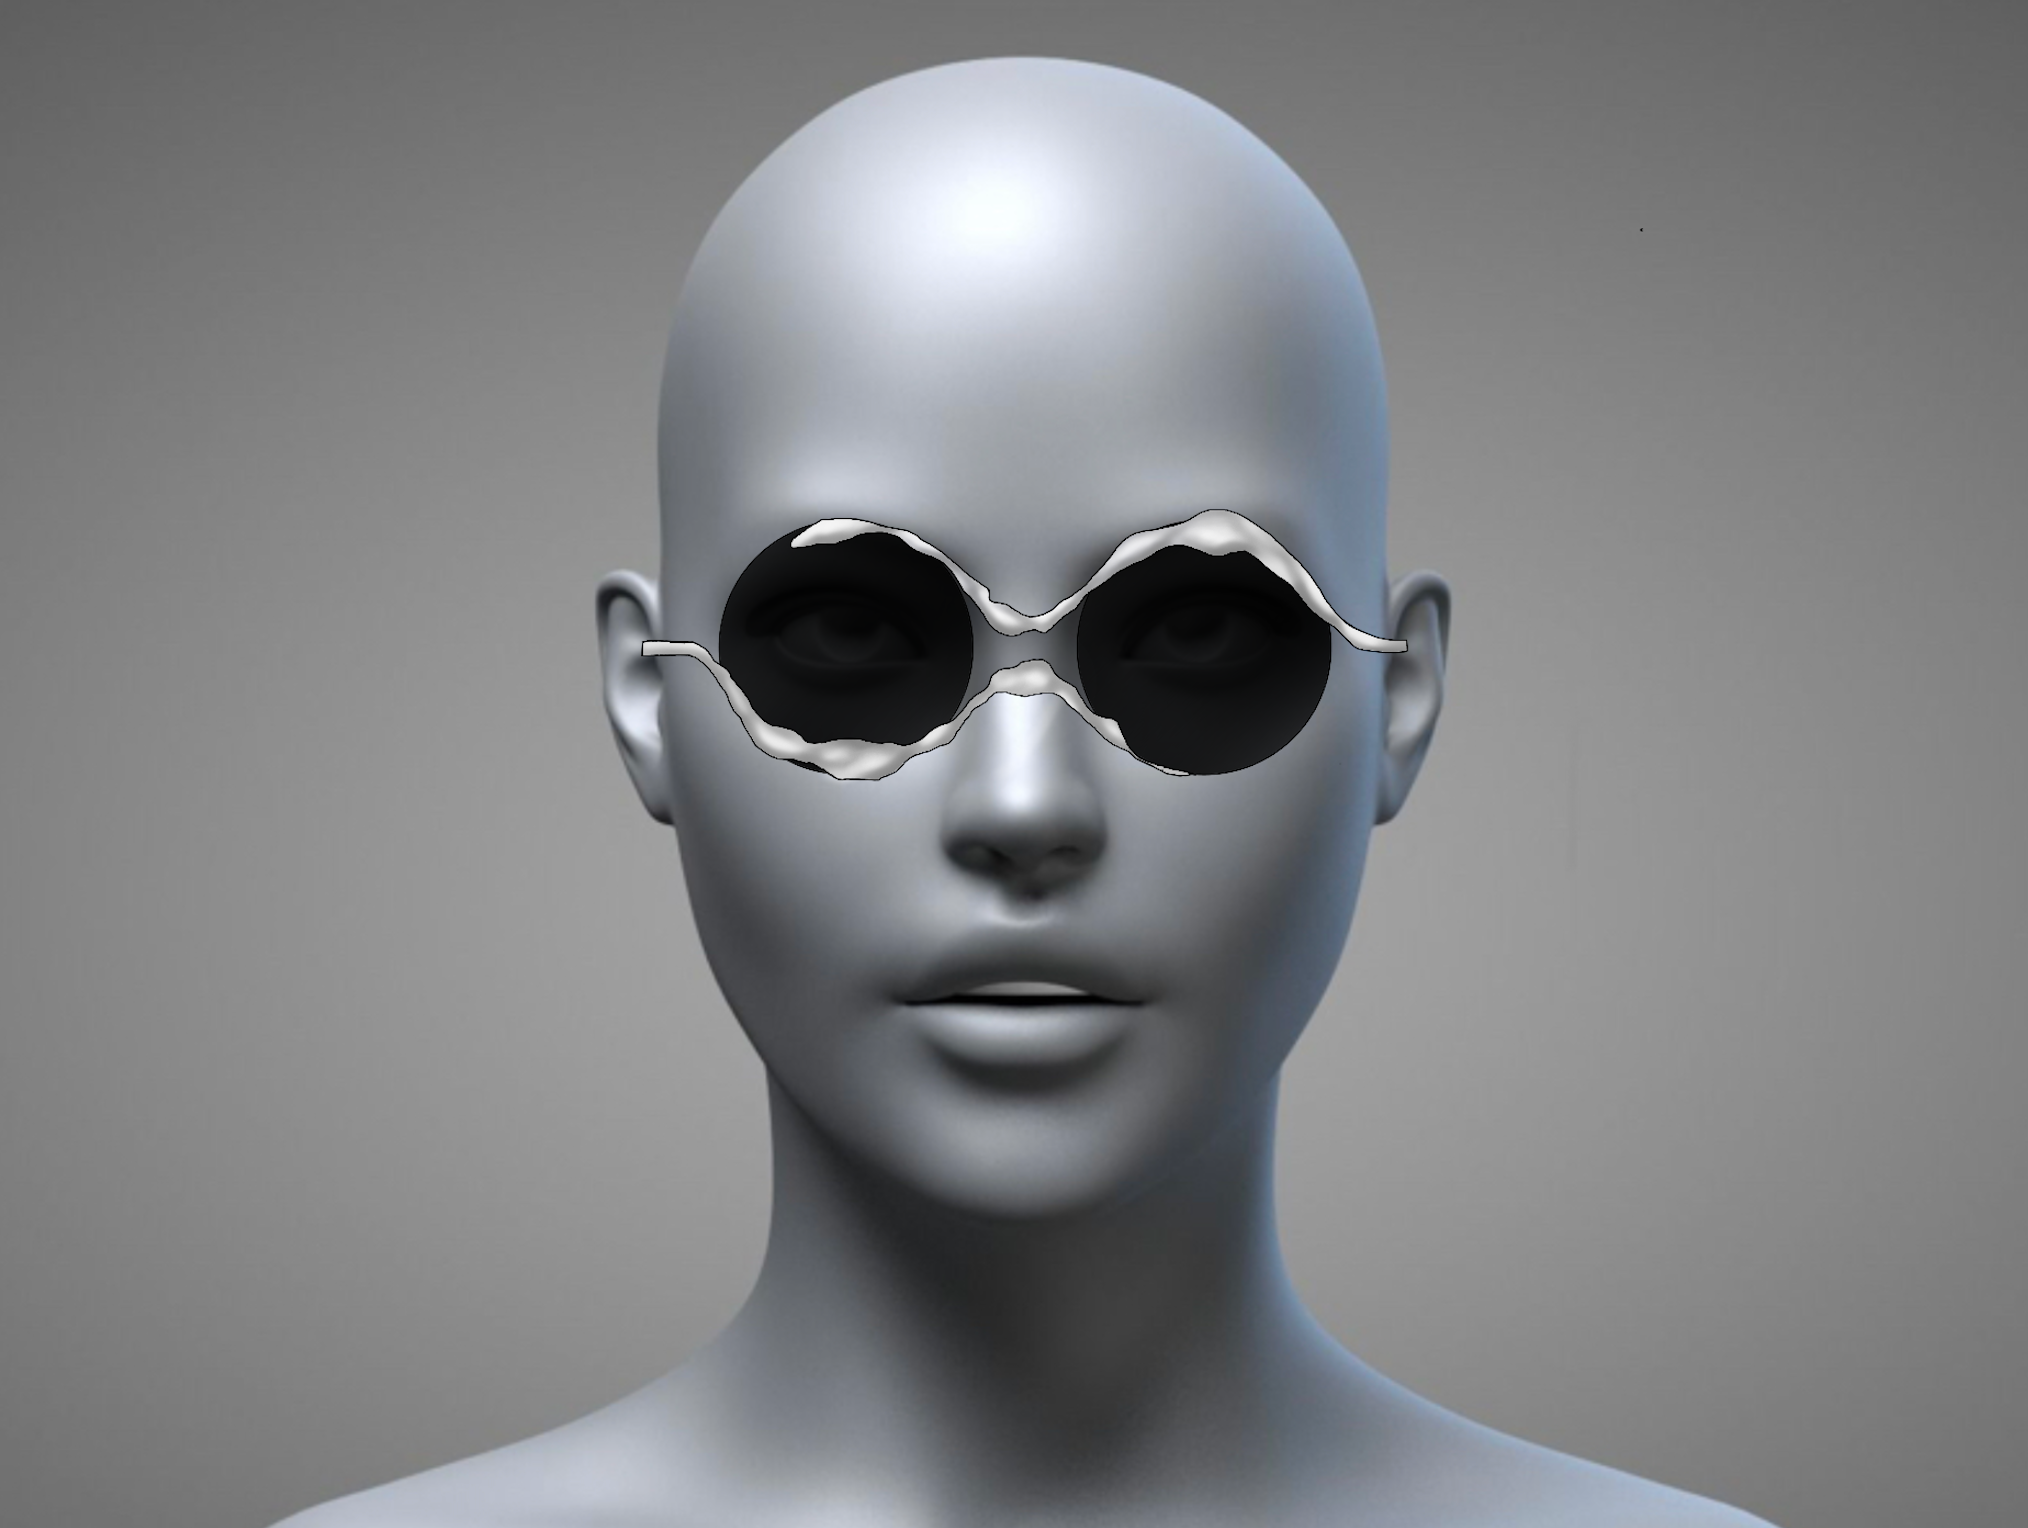
Everything starst from a sketch
I never know what I want to design when I first grab my pencil.
Every frame comes step by step, line by line, sometimes it takes multiple days for the final pair of sunglasses to take shape.
I always design on paper before moving to my digital drawing.
I find it more comforting and some- times, even if it’s not faster, easier to get sort of feeling from the lines I keep drawing and erasing.
Once I get to a pretty good design, I move to my iPad to finalize the shape and try different colors to get a more representative idea of what I have in mind.
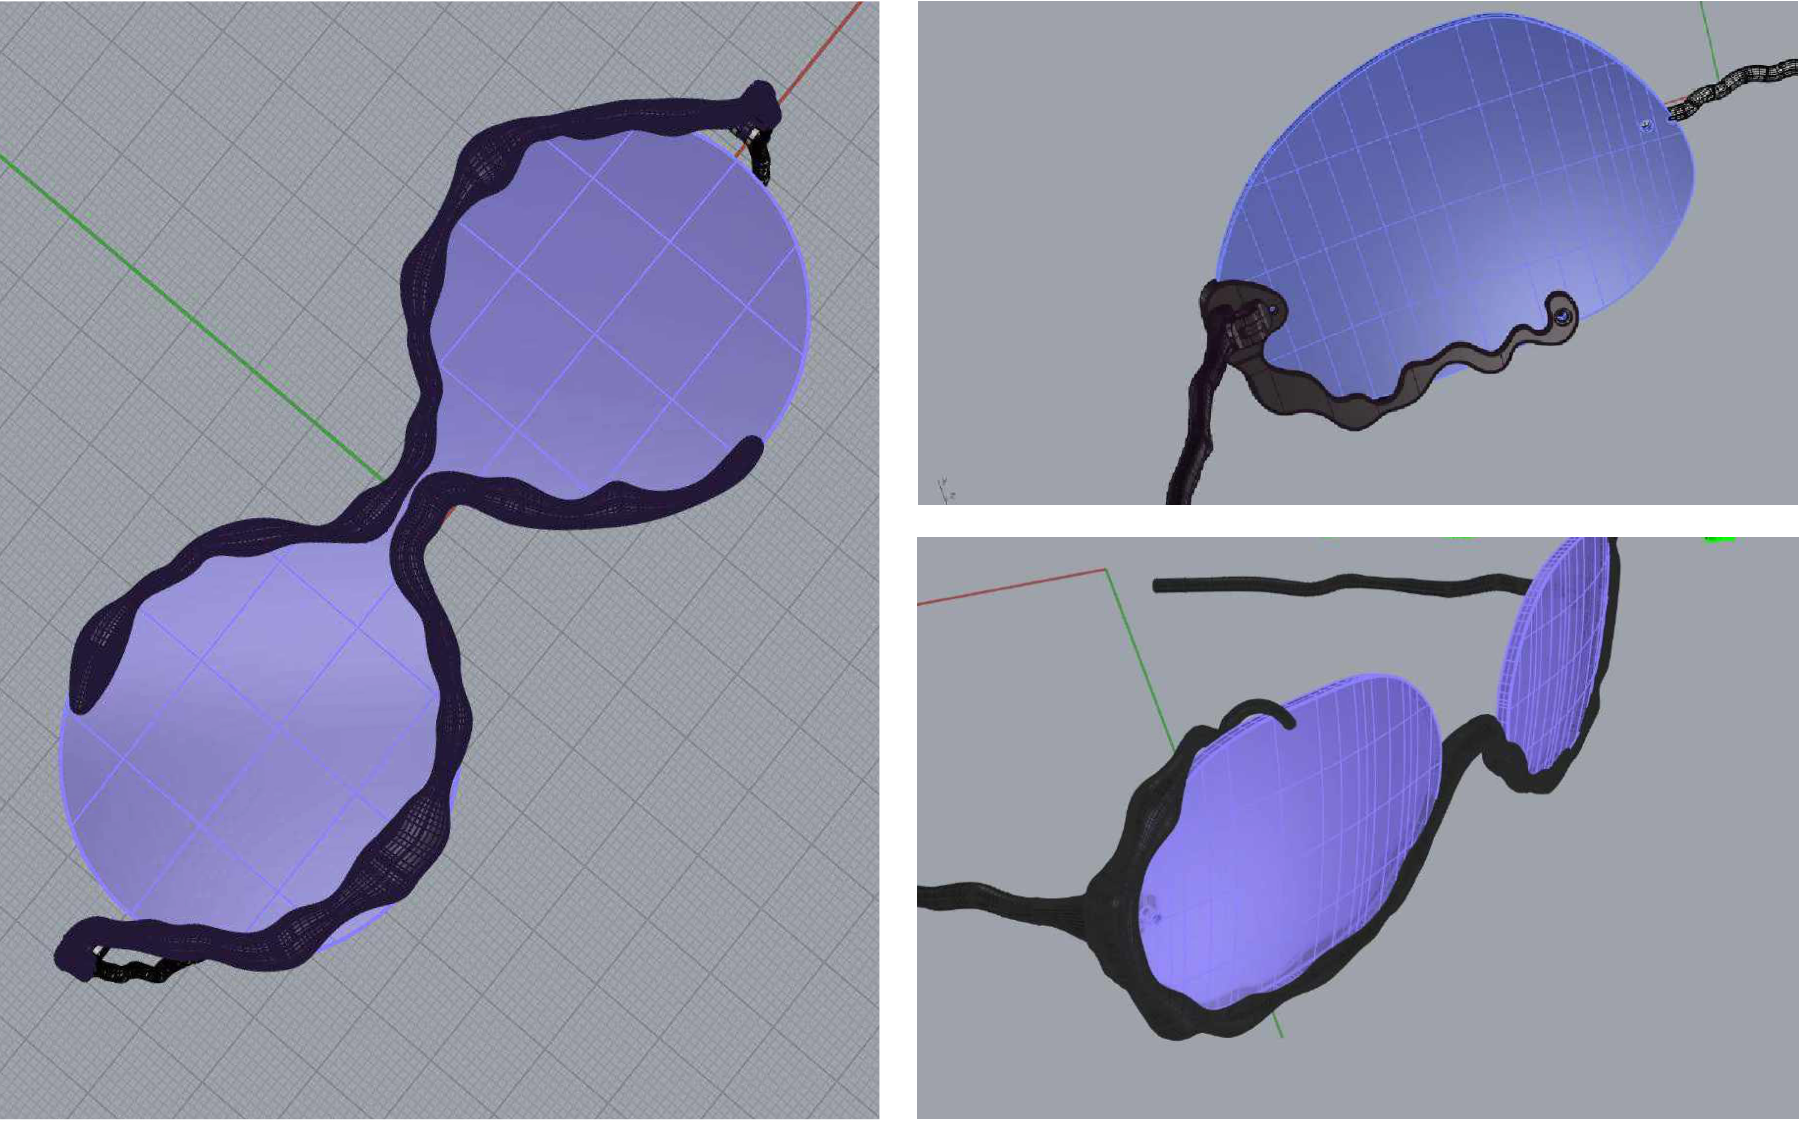
3d models...
Eyewear is a very complex object to make, often misunderstood by the final clients, it requires a lot of experience and practice to develop these kind of forms. To develop Phase Armour, I was lucky enough to be supported by an experienced local designer: together we made many attempt to define the final shape.
The design need to be optimized for the micro-fusion process, taking into consideration factors like wall thickness and other intricate details.

...and 3d printing
Each Eye Piece has been studied for several months before defining the final shape. We produce the raw frames with the support of a local experienced goldsmith, who creates the raw pieces in beryllium copper through 3D printing. This way we produce almost zero waste.
Here’s how it works:
1. 3D Wax Printing:
Once the design is finalized, we use a 3D printer that’s capable of wax printing to create a detailed wax replica of the part.
2. Casting Preparation:
We prepare a ceramic slurry by mixing fine ceramic materials with a liquid binder. Insert the wax model into a cylinder and fill the empty space with the slurry, ensuring it’s full, and let it dry.
3. Wax Removal:
We place the ceramic-coated wax model in an autoclave or oven. Heat it to melt and drain away the wax, leaving behind a hollow ceramic mold.
4. Micro-fusion Process:
At this point the beryllium copper alloy gets melted in a furnace. Once it reaches the desired temperature and consistency, it gets poured into the hollow ceramic mold.
5. Cooling and Solidification:
Allow the molten beryllium copper to cool and solidify within the mold.
6. Removing the Ceramic Shell:
Once the metal has solidified, we break away the ceramic shell to reveal the beryllium copper part.
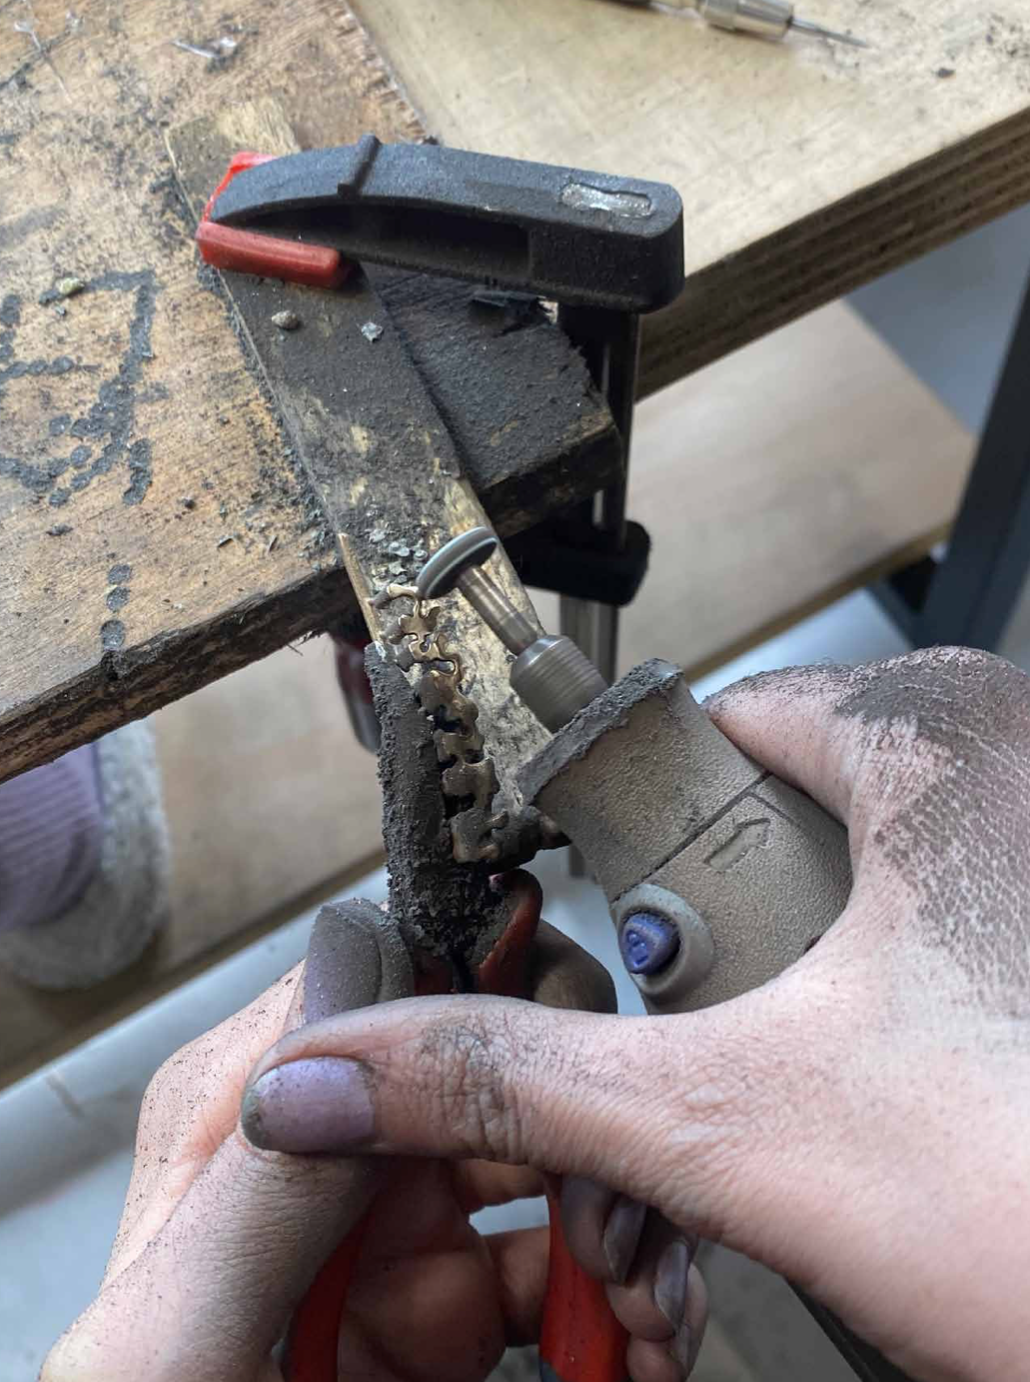
a lot of polishing
3 sanding cycles of around 1 hours each are required to
remove the marks of the 3D printing process.
The first 2 cycles are similar.
In the first one, with the help of a dremel, we remove
all the support material and the 3D printing marks.
In the second cycle we carefully remove every little sign of 3D printing left, to give it the smoothest texture possible.
After we polish them with a special wheel that removes all those signs that are hard to see on a naked eye and give them the perfect shininess.
Sometimes, and only for the biggest pieces, we put the frames through a 4 to 7 days tumbling process to smooth the surface even more.
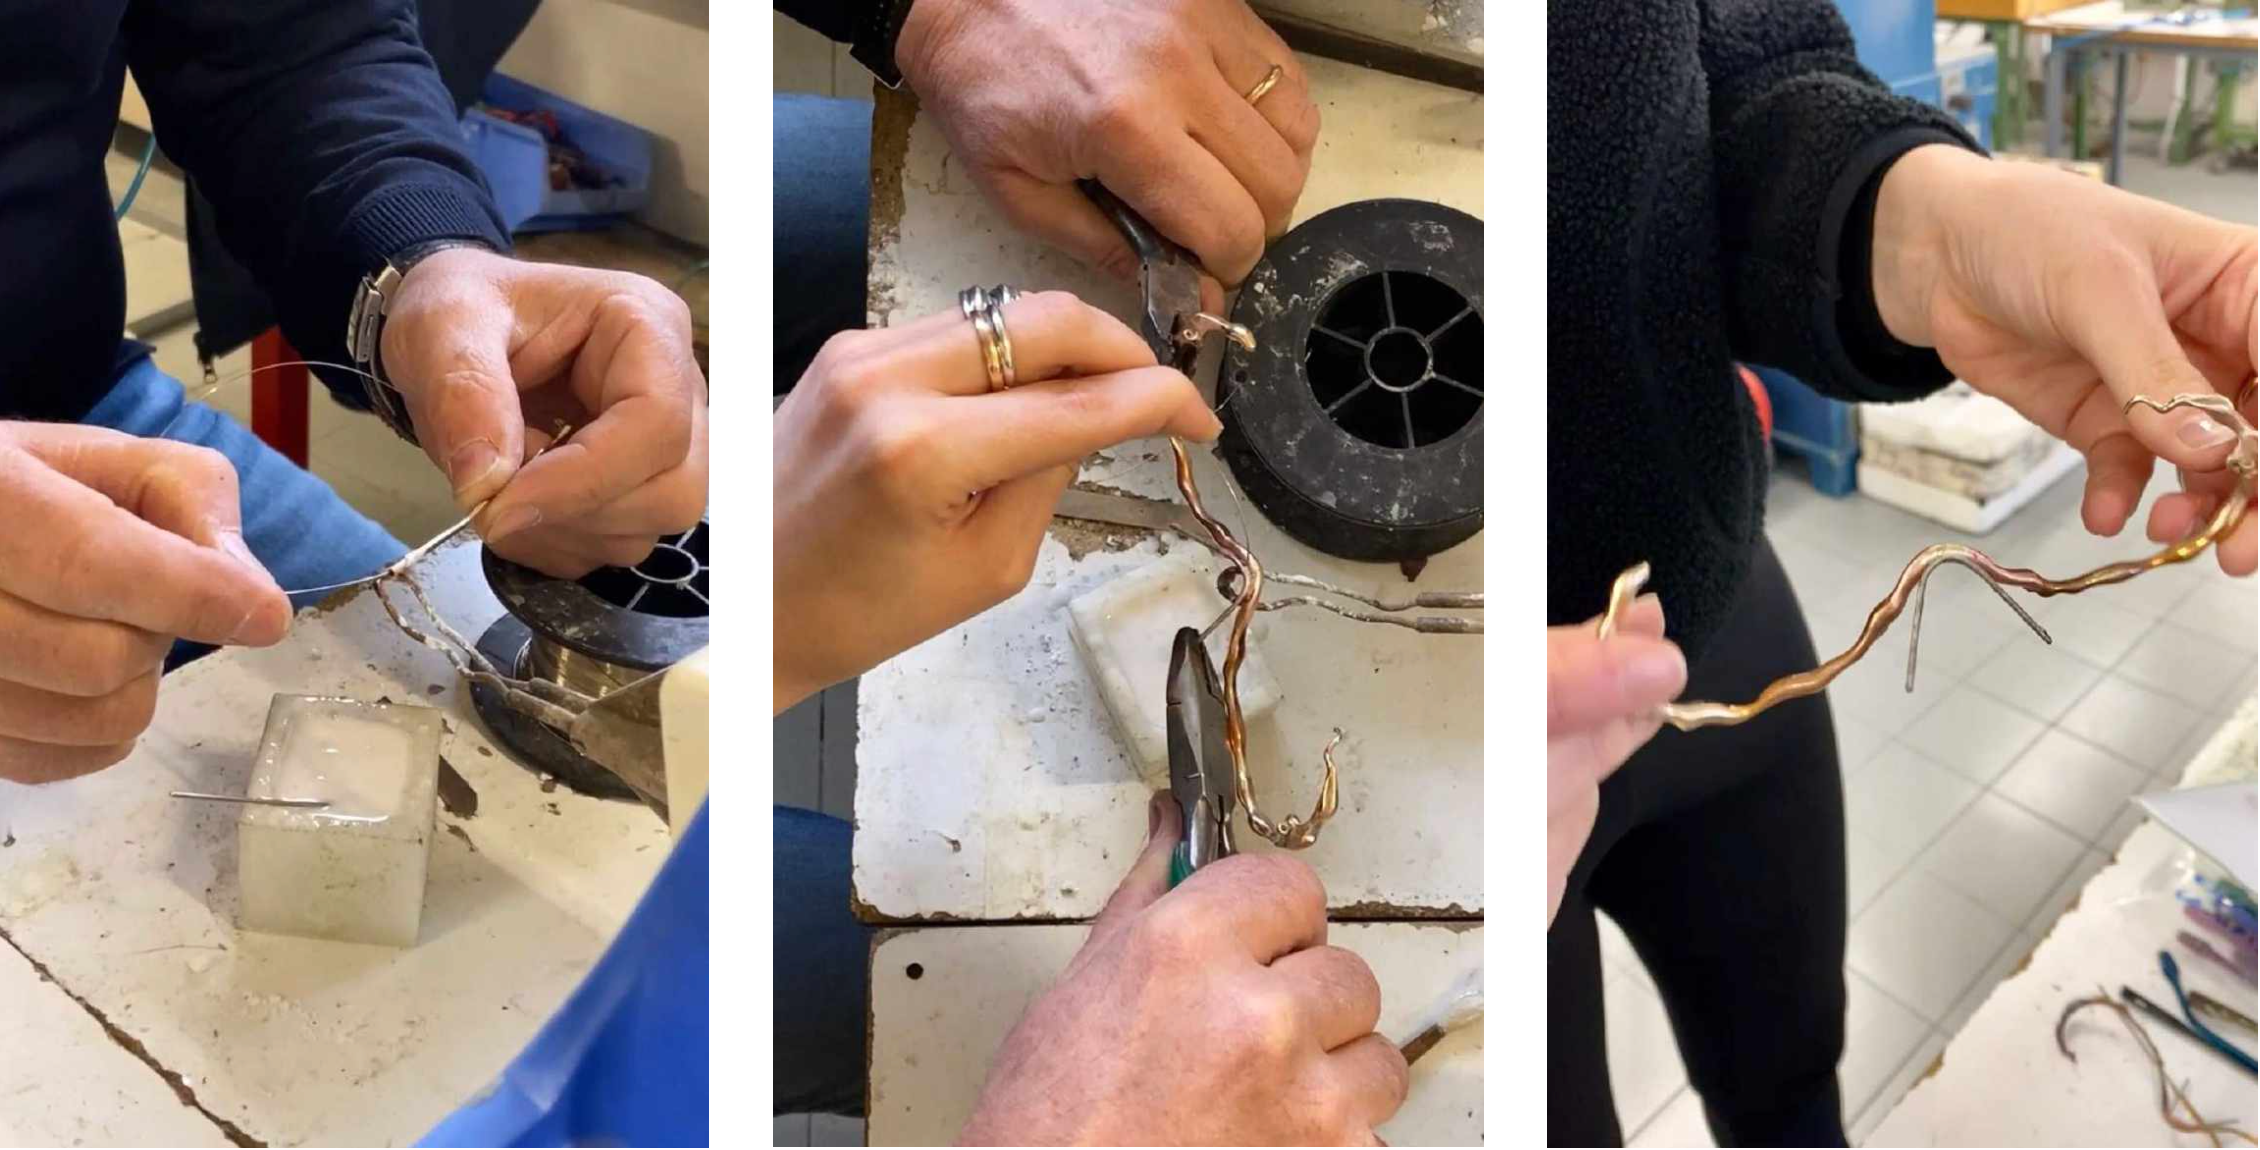
transforming art into something usable
It’s time to turn this metal pieces into sunglasses, art into design.
Once the glasses are polished we can start the welding process - nose and the temple tips are ready to be unified with the metal components, giving birth to the frame.
One more polishing round is needed to guarantee the shininess desired to the frames.
And we polish once again. Following the same process as before, but a little faster, we check every single detail, remove every welding sign and get ready for the next step.
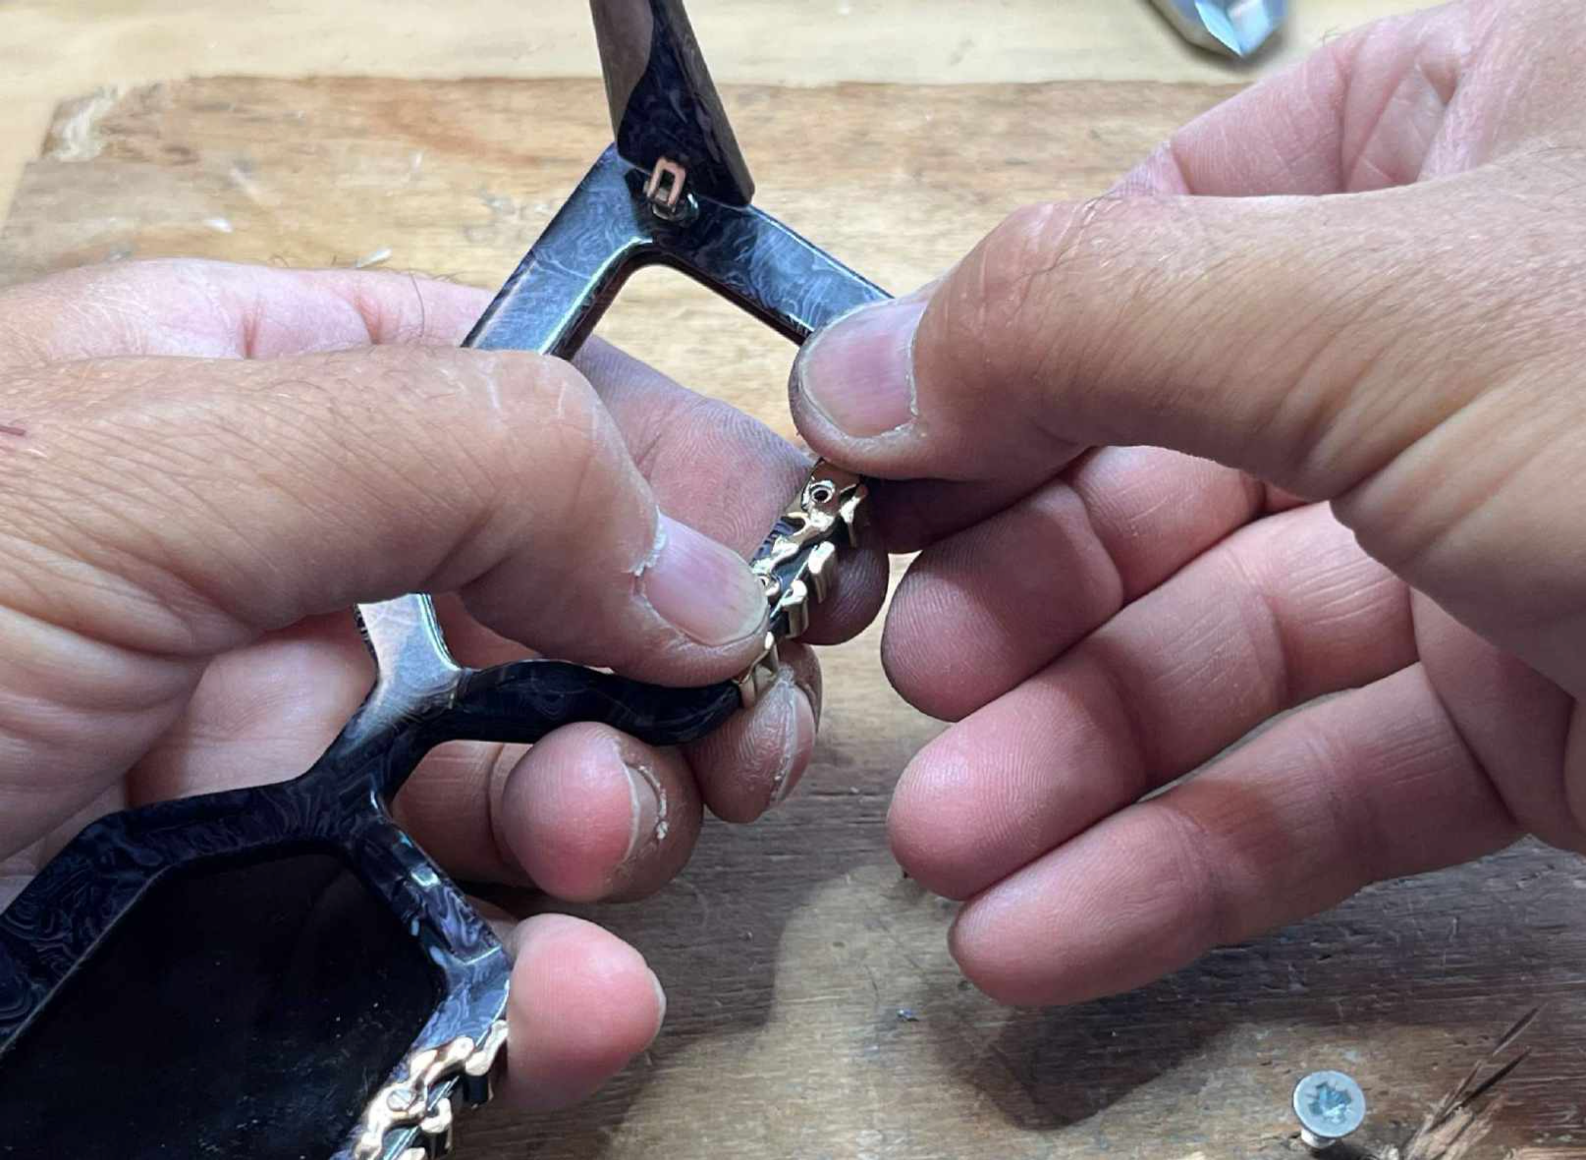
finishing and assembling
It’s time to give them color!
Once everything is perfectly shining, we assemble the frames and send them to be galvanized. Galvanizing a pair of glasses involves coating the frames with a protective layer of zinc to prevent corrosion and enhance durability.
the final touch
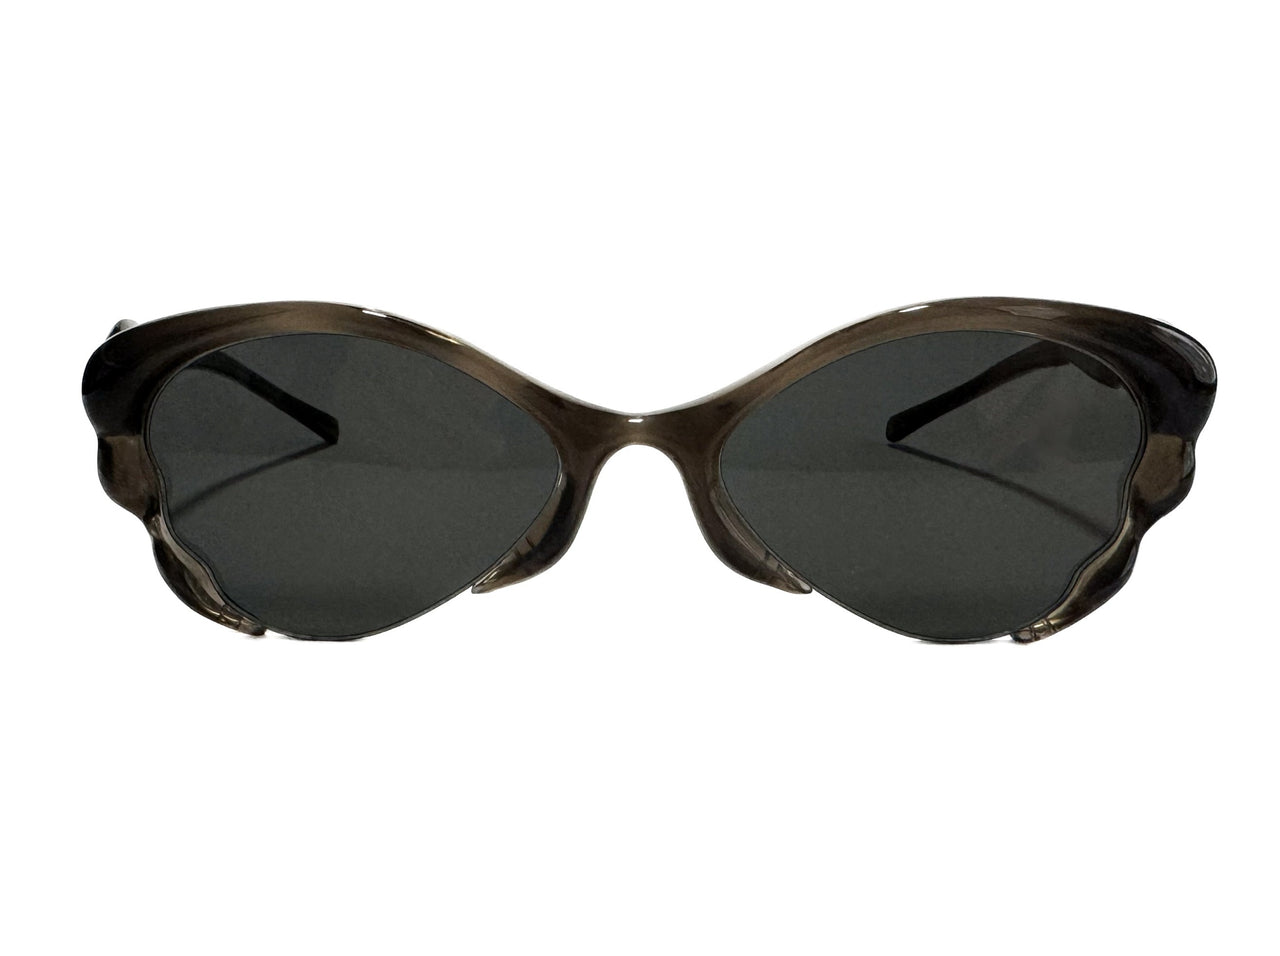
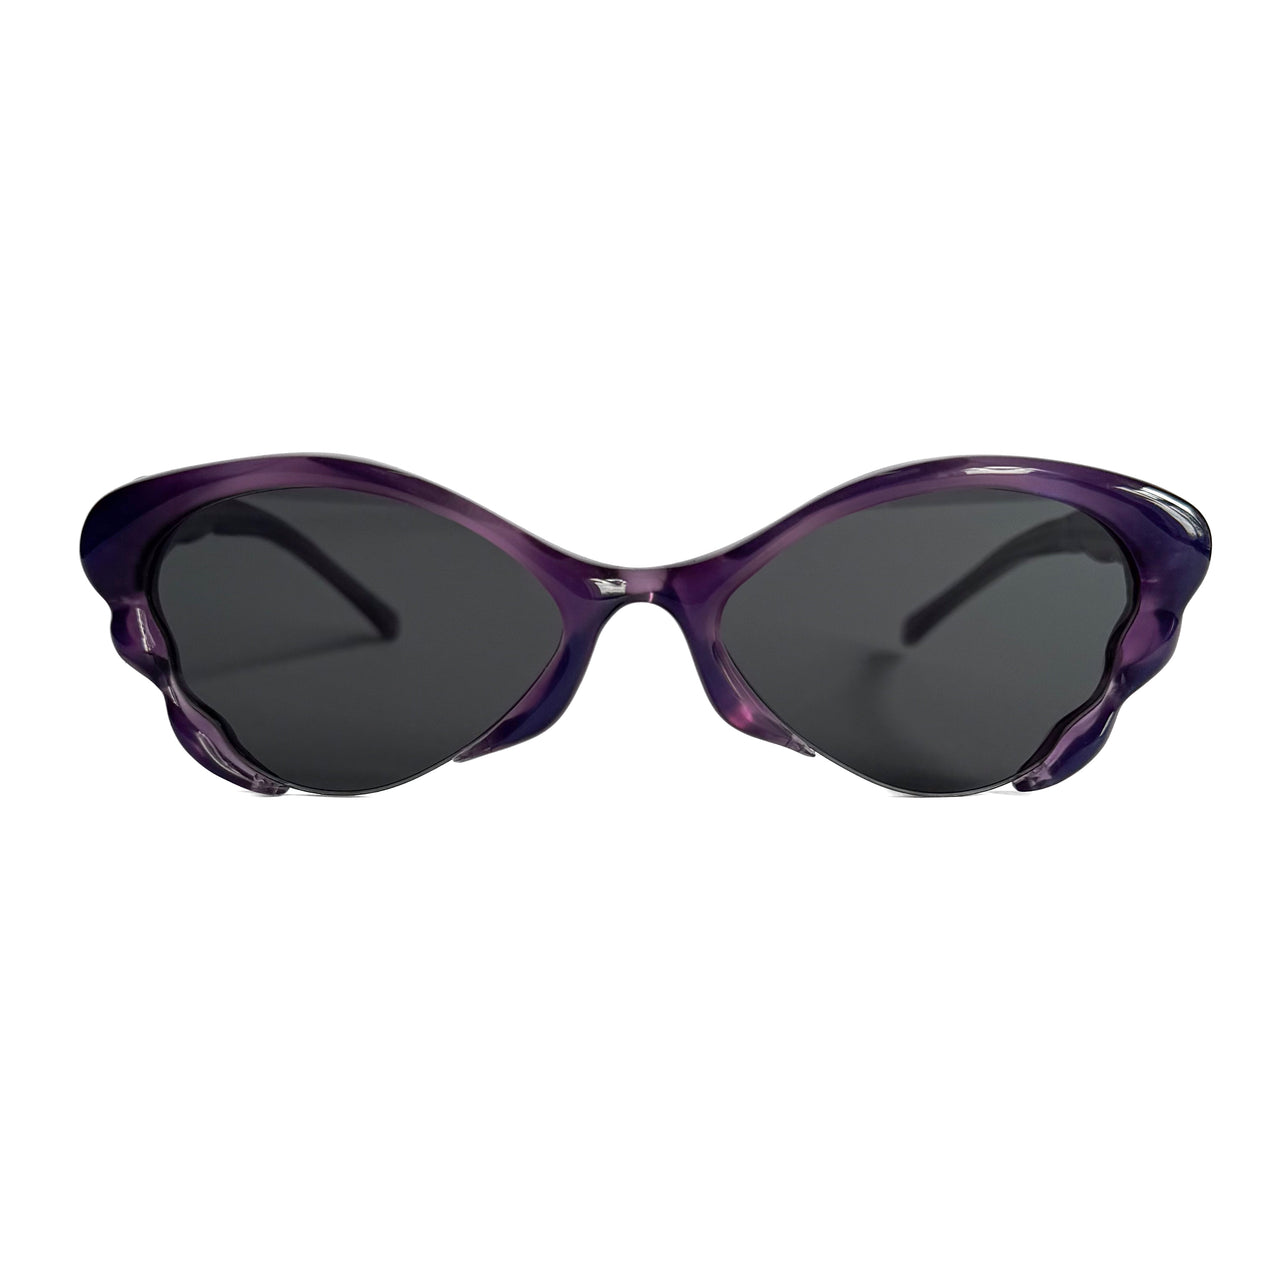
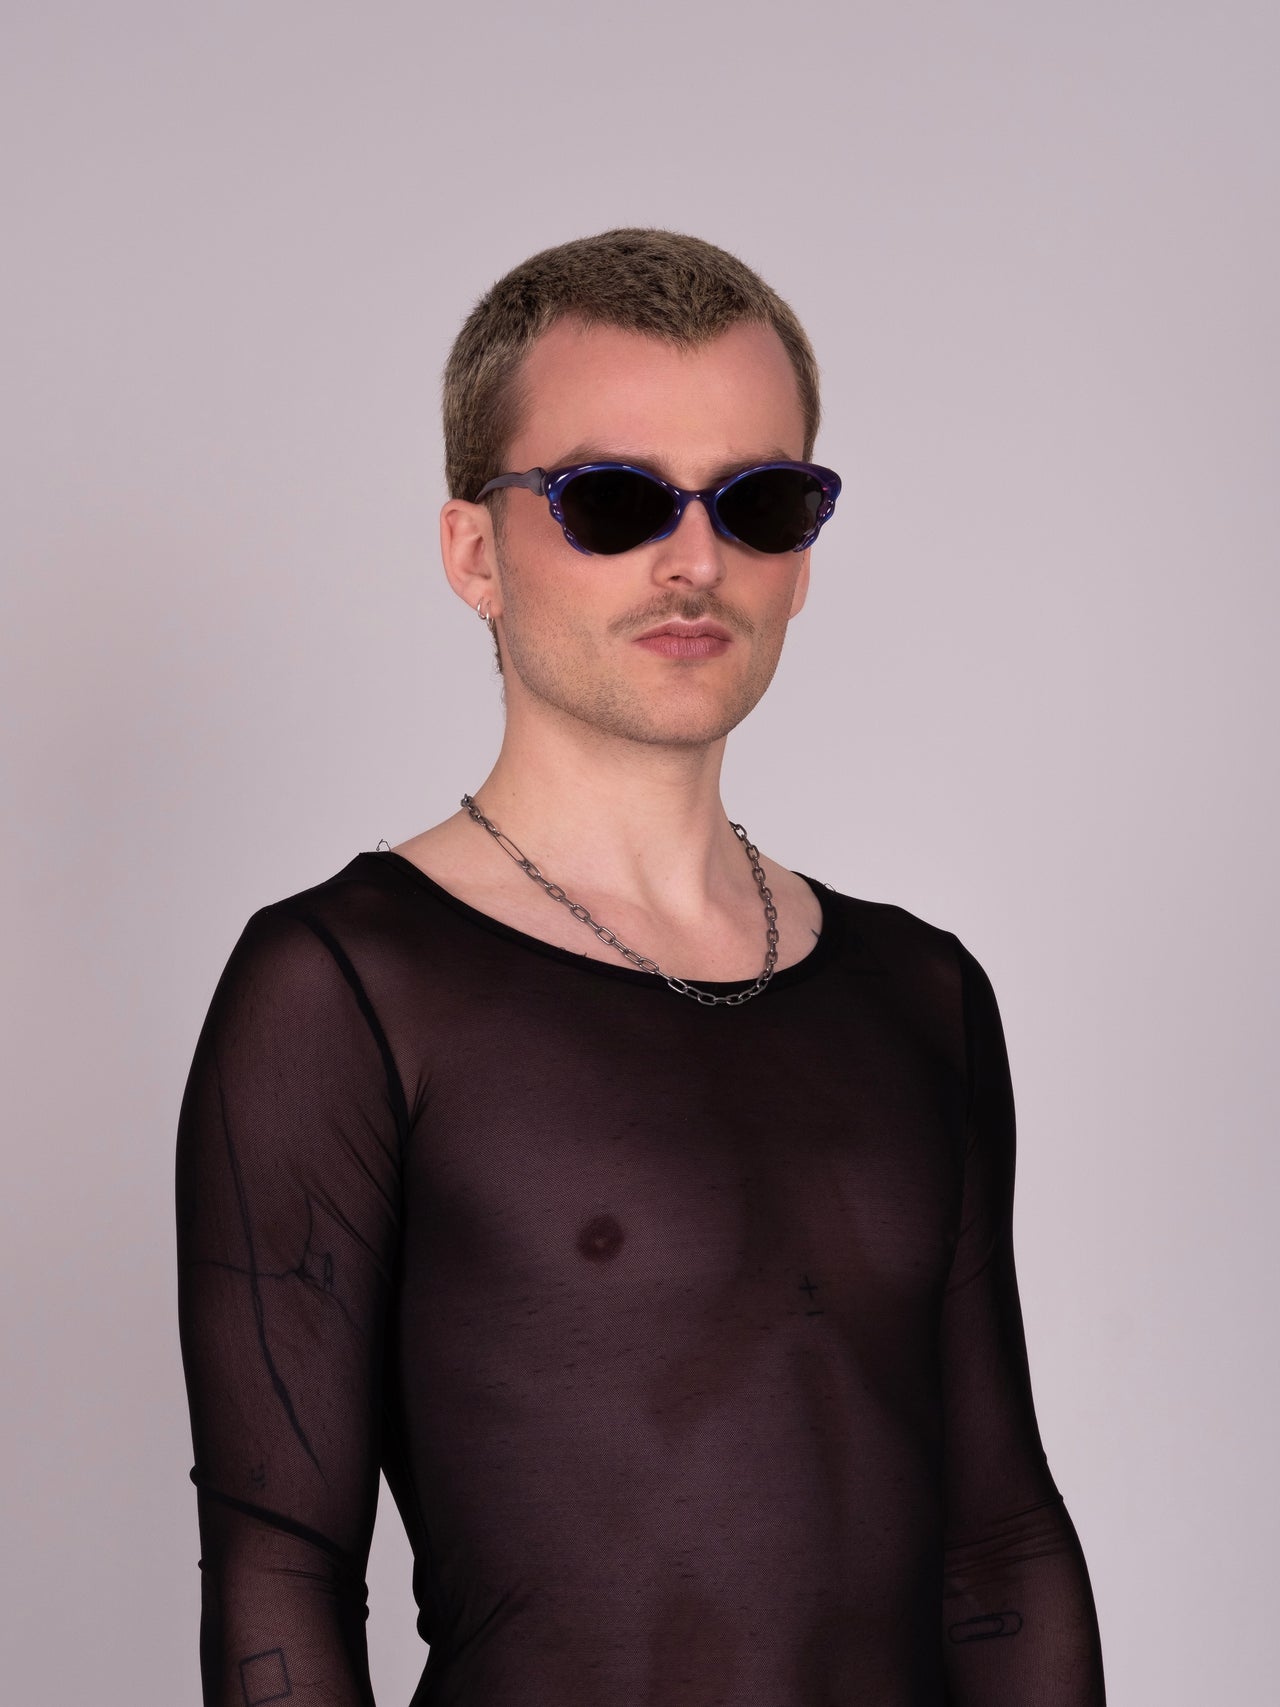
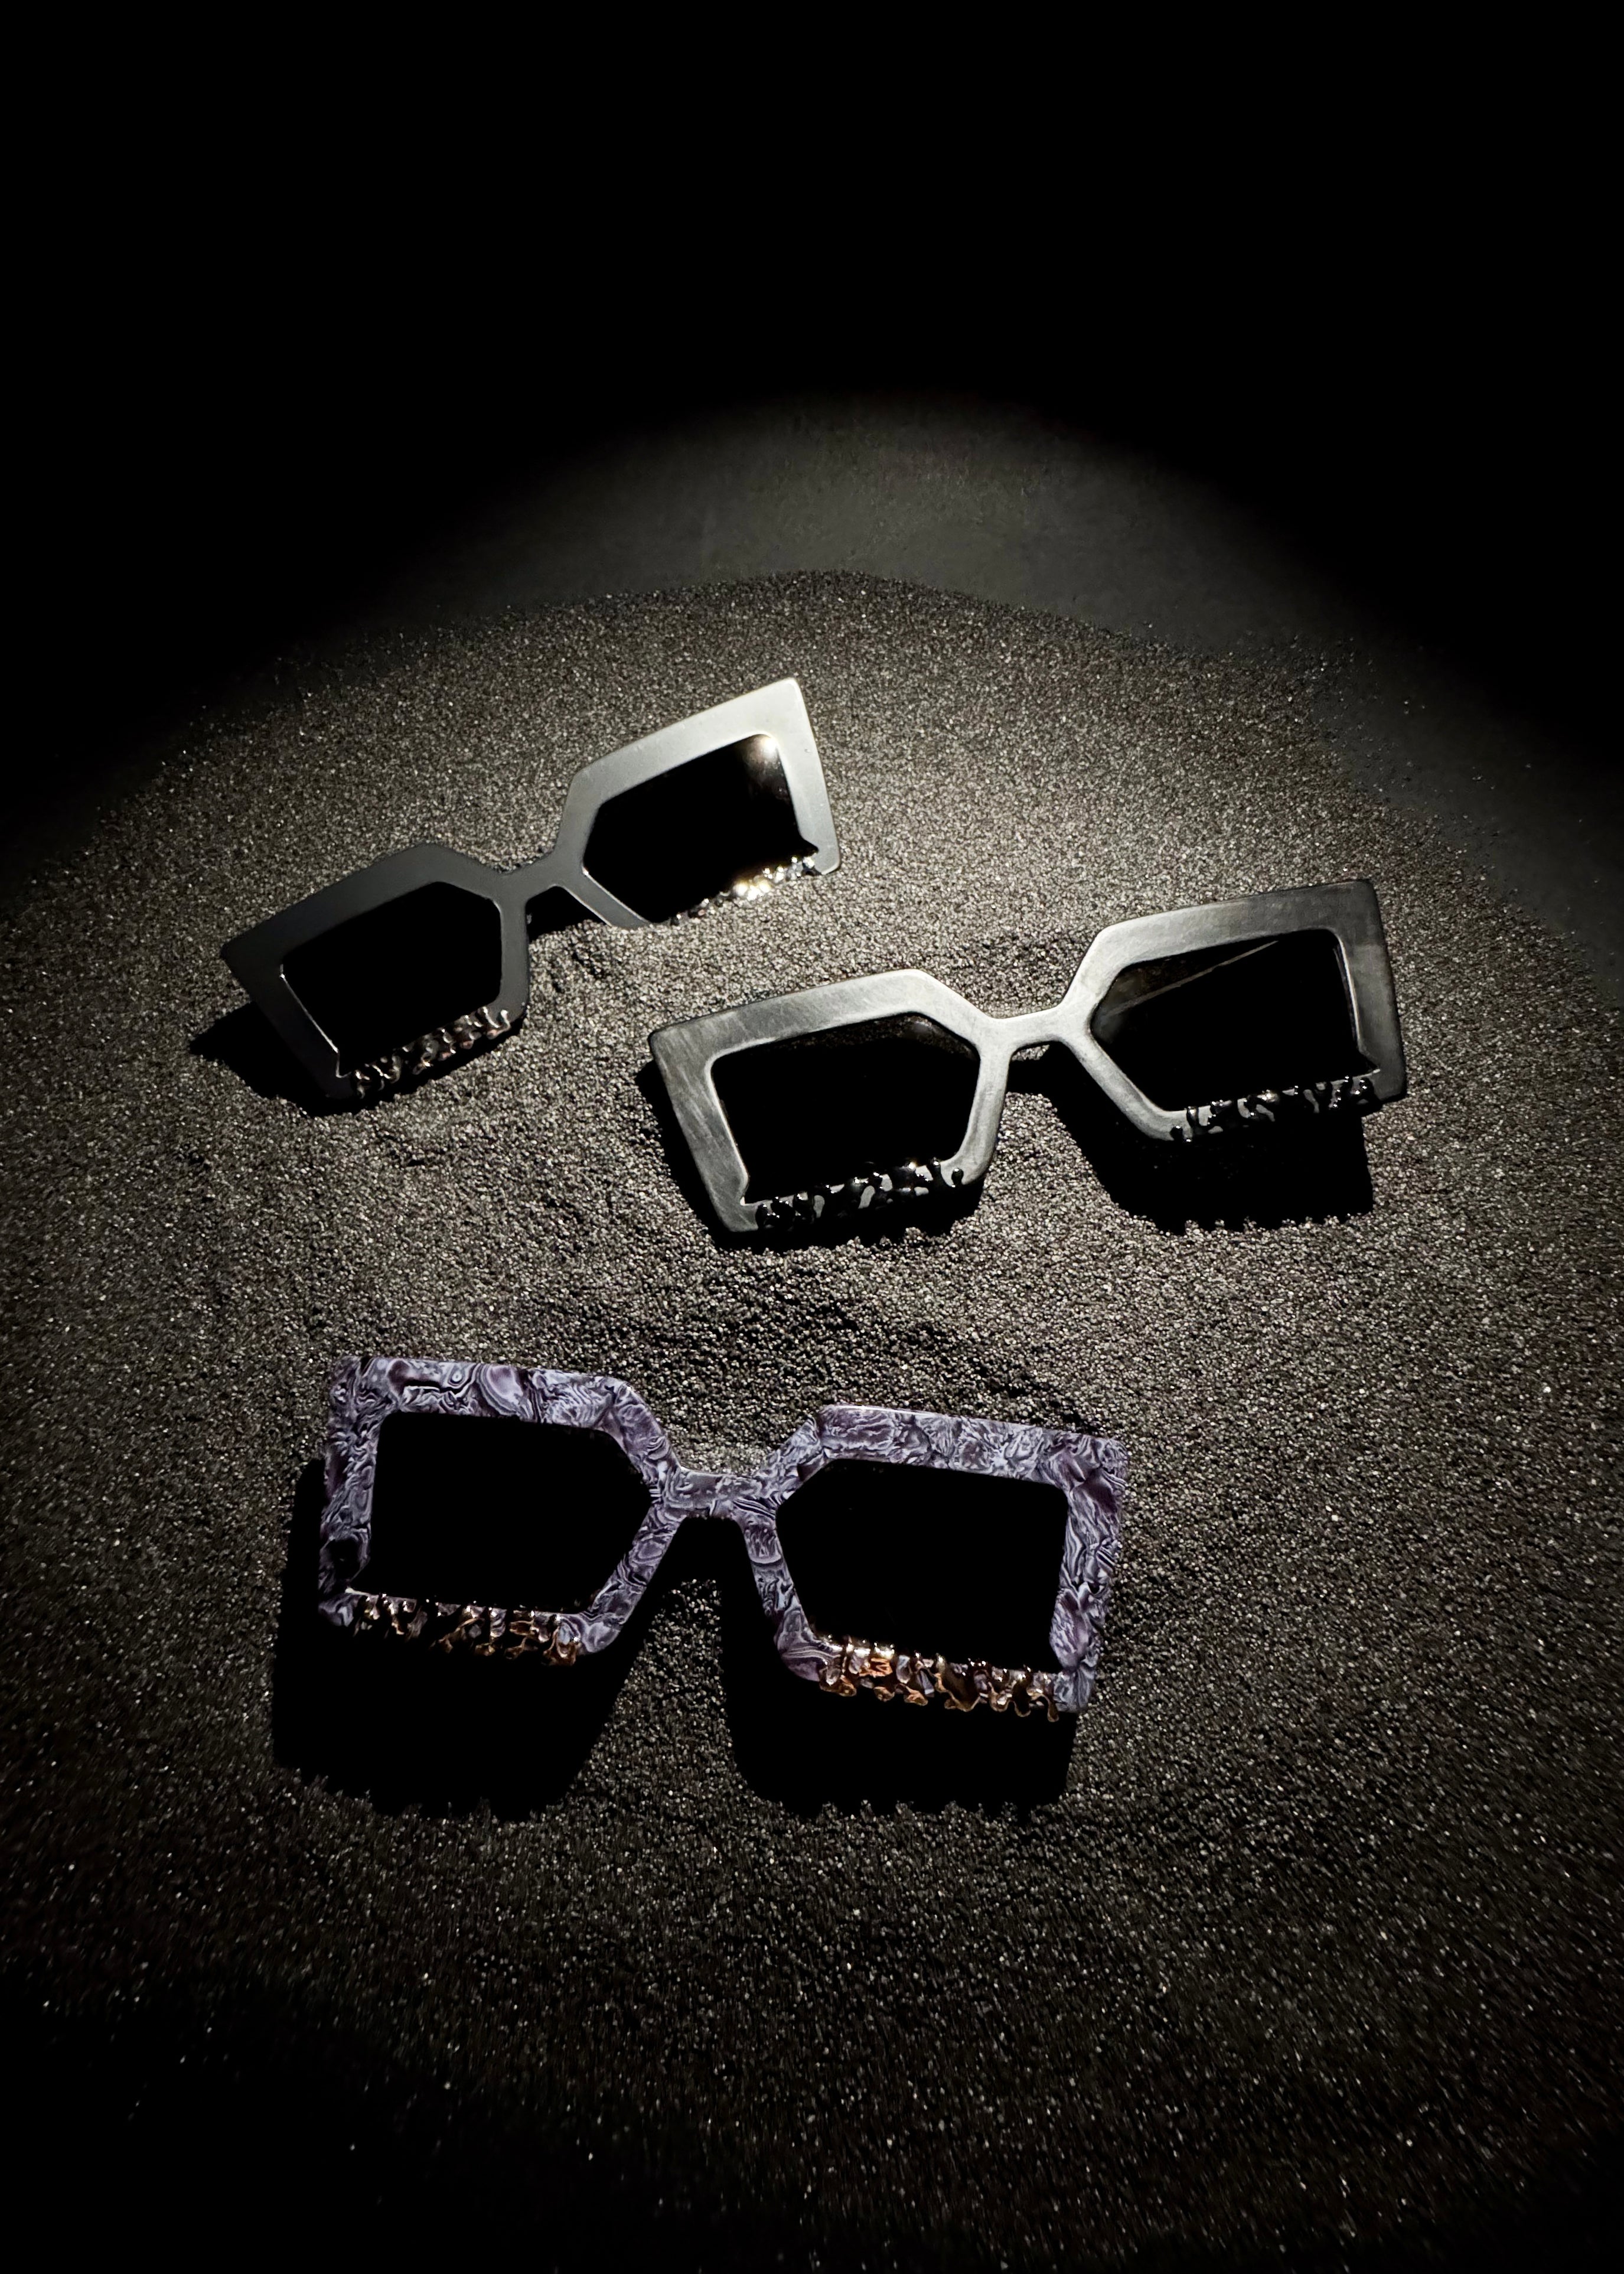
Number 4 and Number 5
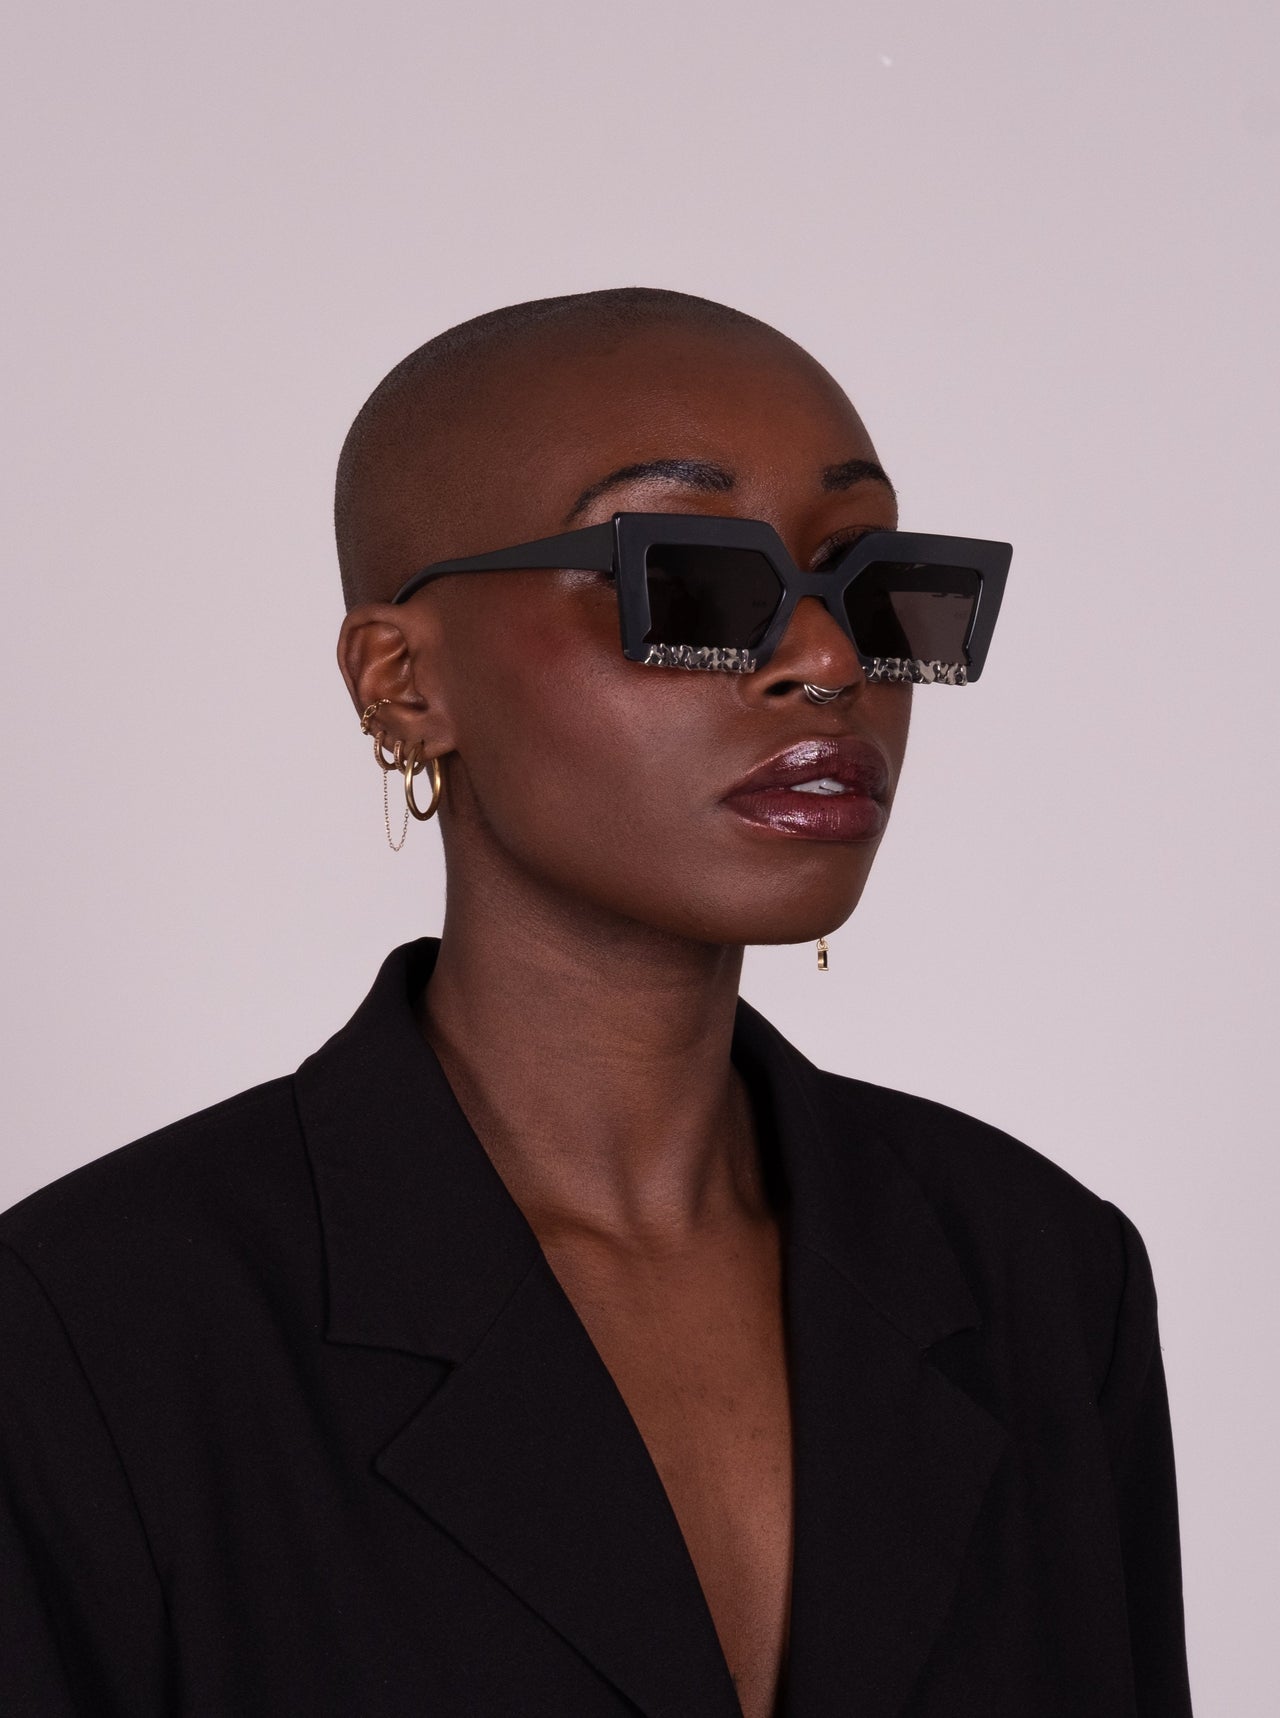
Like all the other pieces, the n.4 and n.5 are hand made by the designer - but they are different.
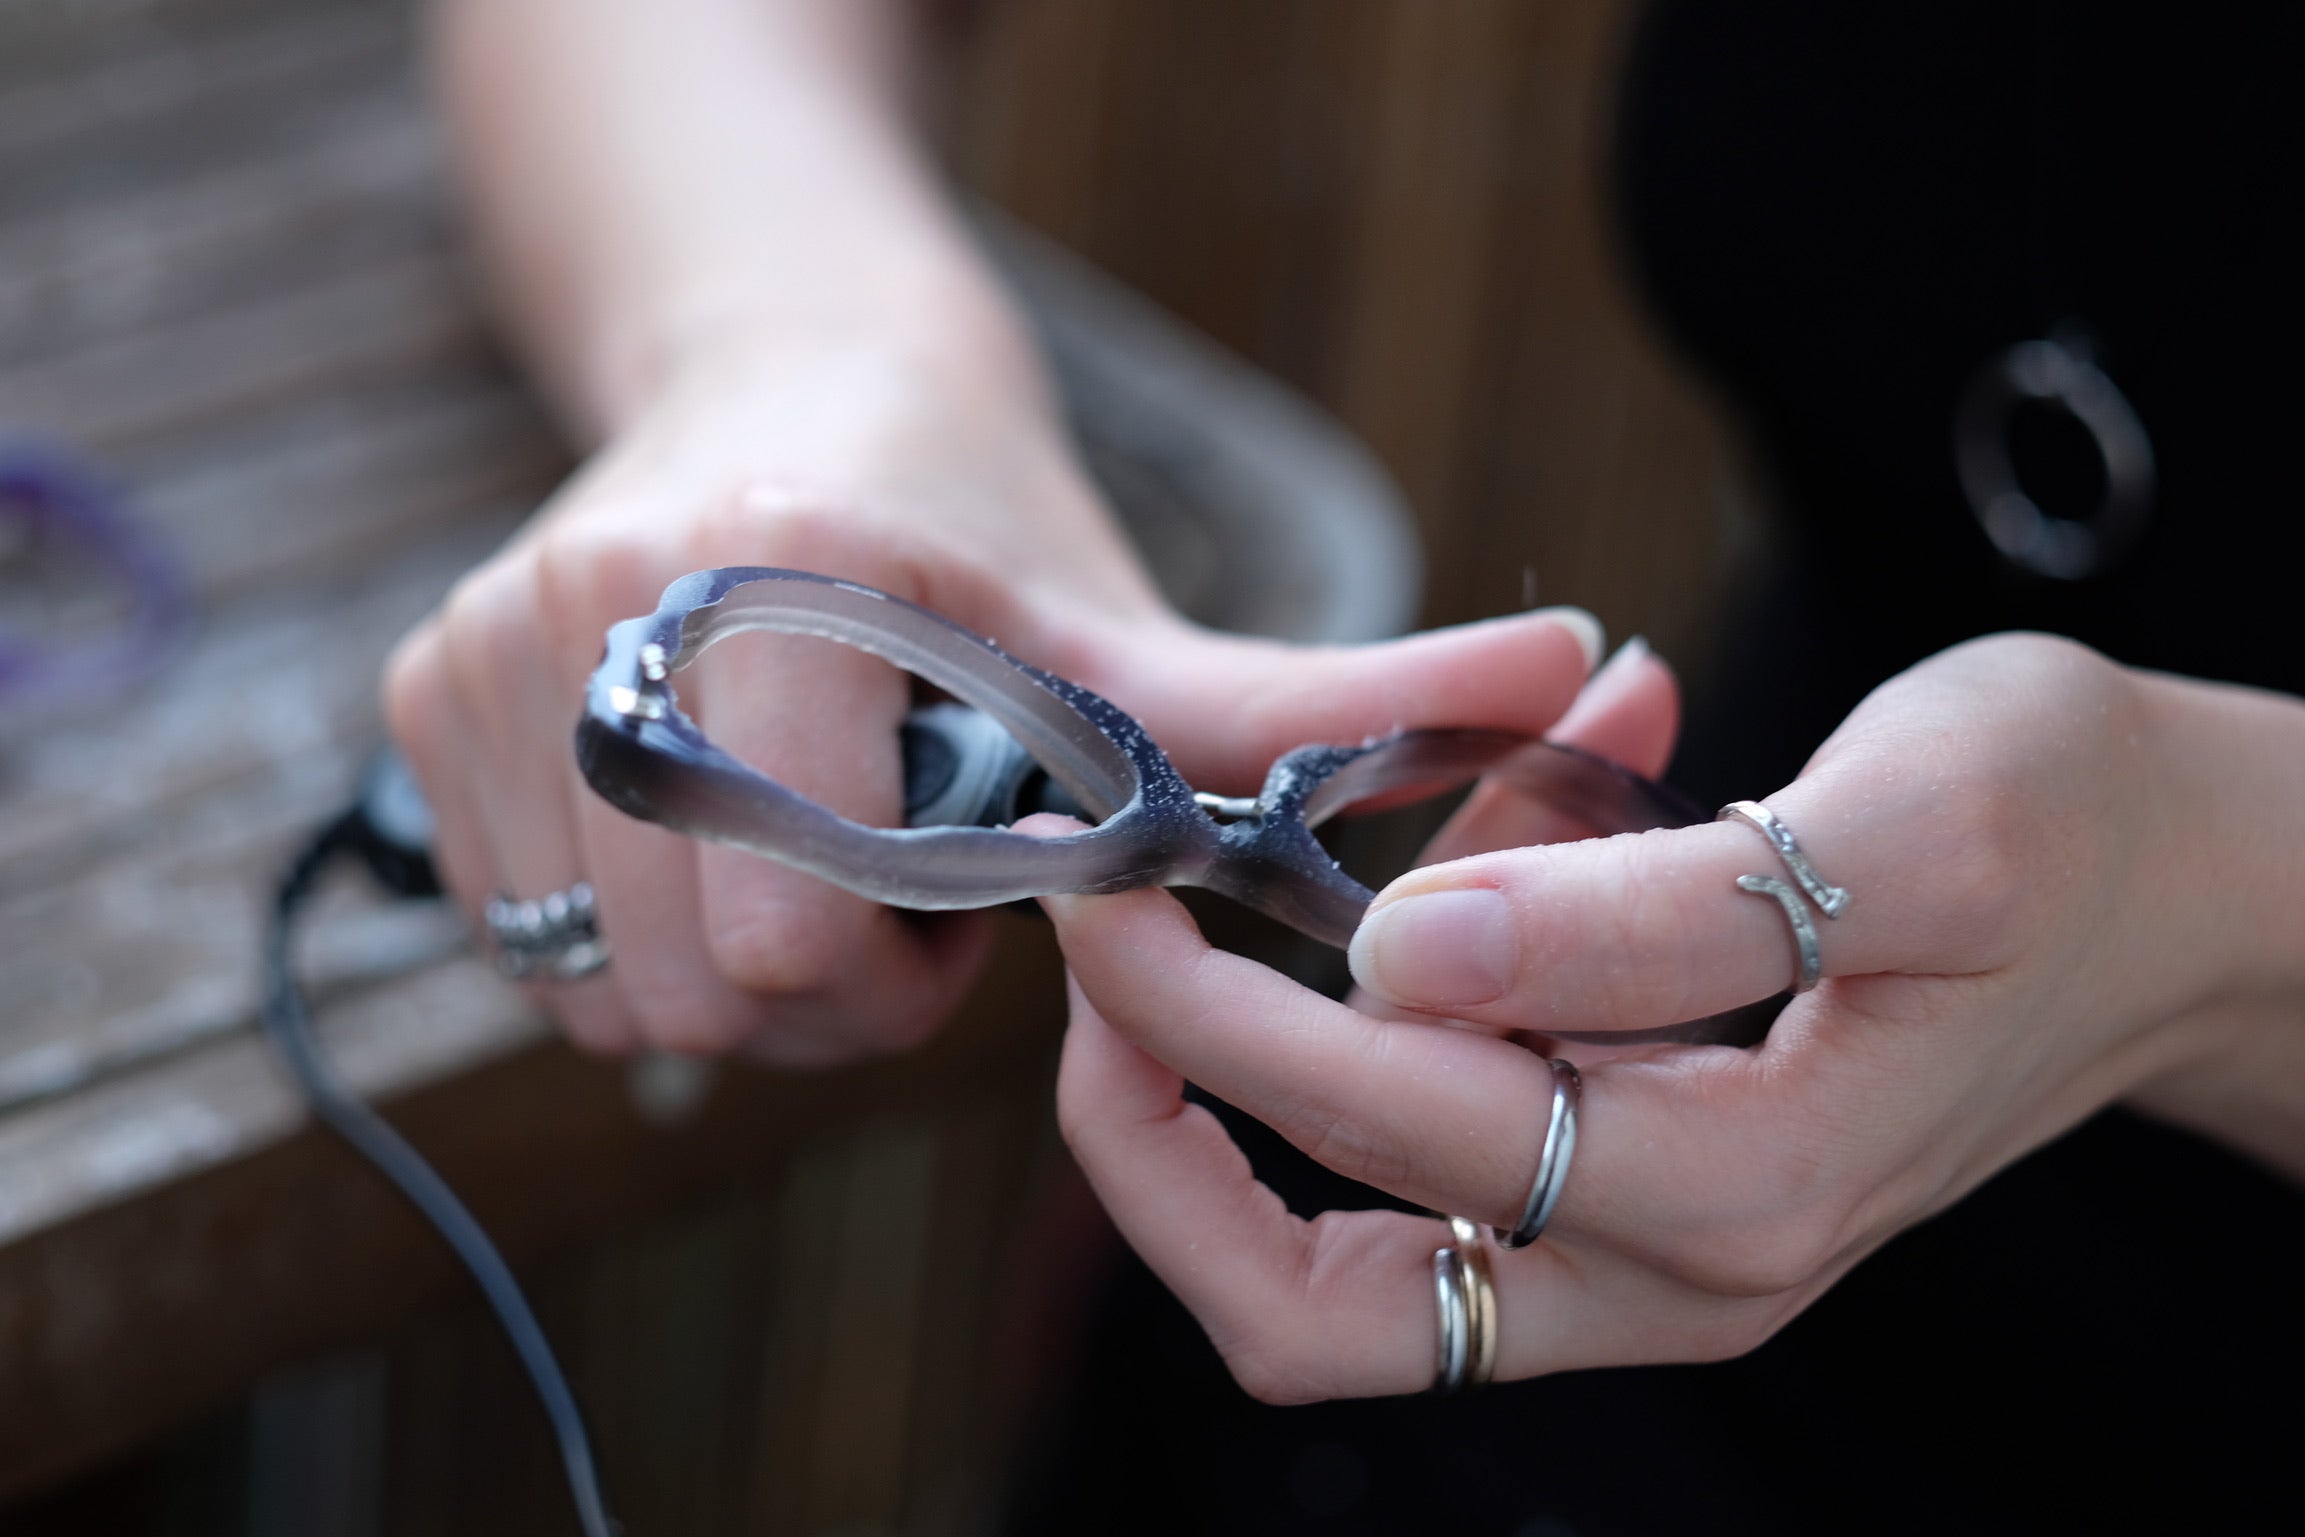
Made in acetate, these pair of sunglasses requires time and extreme attention to details to be made.
Each pair will ALWAYS be unique.
Phase armour is ready, are you?
